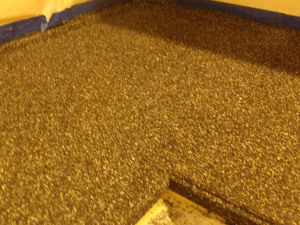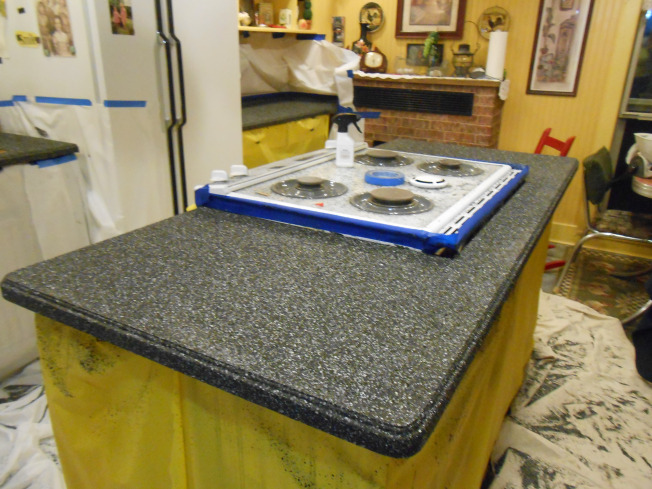
Today’s project is perfect if you want to put a new look to your counter top. My father lives in an old farm house built in the late 1800’s and they have kept that look throughout the house. He actually made his kitchen cabinets and his wife made the doors look old by stressing them. (Some call it the crackle look.) They had put white counter tops on but over time decided that they really didn’t like them for various reasons. One being that the counter top easily stained and showed everything. So, they turned to me and my sister to to the job right! I can’t wait for you to see how this project came out.
First they bought a Counter top transformation kit from Rust-o-leum. This kit has everything in it to make your counters look like marble. I have to admit; I was a bit skeptable! It covers about 50 square feet and cost approx. $200.00 but they had it on sale and only paid $175.00. This kit does not include the special rollers and other items you will need for the project. The cost for the additional items was roughy $25.00
-
Brushes
-
special foam roller
-
regular paint roller
-
drop clothes
-
plastic
-
Painters tape
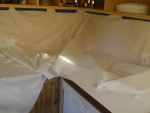
aping off every area that needs to protected is the most timely part of this job. We spent at least a couple of hours taping of two counters and an Island. As you can see in the picture below we have already taped off the bottom of this counter. You want to make sure that your painters tape is nice and straight because you will be rolling up to if not over it especially along the back splash area. 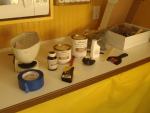
The cool part of this kit is that it comes with a DVD showing you the step by steps; explaining any tools you will need to finish the job.
Note: THIS IS ONE MESSY JOB!
Be sure to tape off walls with plastic and painters tape and cover your floors with drop clothes. You will not regret the extra time it takes to do these steps.
If you are working around a sink you can either remove the sink like we did or tape off around it.
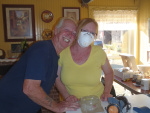
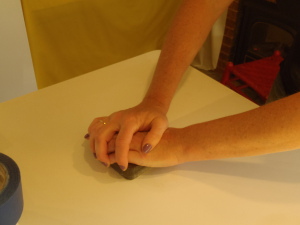
Next Step is to take the sanding wedge and sand down the counters in a Circular motion. I suggest if you have allergies like my sister you put on a dust mask. (Aren’t they cute?!)
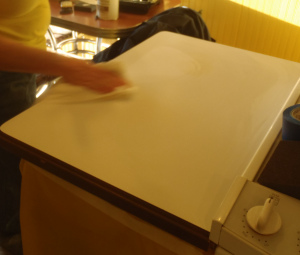
Be sure you are putting pressure with both hands as you are sanding. You want to create a rough surface for the adhesive to have good adhesion. Don’t forget the edge of the counter. We used a dowel and sand paper for the edge of these counters because they are beveled.
 Once that is done you need to take a vacuum or shop vac and clean the surface with a damp (not Wet) rag. Run your hand over the surface to be sure you don’t have any dust left. This could cause problems with the adhesive.
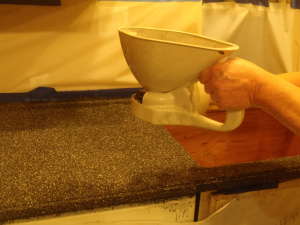
Now that counters are prepped. Get all of your tools prepared. Put paint chips in the spreader. We used a paint pan with a liner for the adhesive it makes for easy clean up. We made sure we prepared the proper roller. There are two different rollers you will use for the entire process. We used a roller that had a medium nap to it to apply the adhesive. You will need a special foam roller towards the end of the project.
Tip: It is best to have at least 2 people once you begin the process. One person to roll on the adhesive and the other to spread the paint chips. We found a third person was definitely helpful to refill the adhesive and the paint chips and to spray down the surface. So three people is Ideal but not necessary.
This is where it really goes quick!
Be sure that you use your roller going from front to back, do not press down on the roller otherwise you will leave roller marks that will show up in the finished design. Cover any nooks and crannies especially around the edge of the counter and the backsplash.
Sorry forgot to take a picture of it with just the roller and adhesive but I am sure you get the idea.
Next you will take the spray provided in the kit and spray the surface before you put the paint chips on. This helps keep the adhesive wet long enough for the paint chips to adhere.
Do not be shy applying the paint chips. Go Wild….you cannot put on too much. My sister was perfect for the Job! She is so thorough….double checking edges and all.
Like I said, This is one messy job!
Here is a look at the kitchen after we were done doing all of the counters. We stood back in Awe. LOL
Now it is time for what my father calls a UAW break. This has to dry for 24 hours before you can finish the next steps….so until next week I will keep you in Suspense.
Have a great week in the Lord.
Mischele
