Category Archives: Instructional

Maple Ginger Sweet Potatoes with Apples

Standard

This delicious, slow cooker recipe is a cool day delight!  Encompassing some of autumn’s favorite flavors, it is easy to put together, and thanks to a slow cooker; effortless to cook!  The rich flavors of sweet potatoes and apples meld seamlessly with the sweetness of maple and ginger, and the spices give it an almost pie-like flavor.  This is a wonderful, warming recipe that you will want to return to again and again.


Diff:  Easy    Prep:  15 min.    Cook:  4 hrs.   Serves:  6-8


Ingredients:


1 ½ # sweet potatoes, peeled & cut into bite-sized pieces (about 5 cups)

2 medium tart cooking apples, chopped

¼ c. dried cranberries

1 ½ t. grated fresh ginger

½ t. kosher salt

1/8 t. pepper

½ t. cinnamon

¼ t. nutmeg

½ c. water

¼ c. maple syrup


Directions:


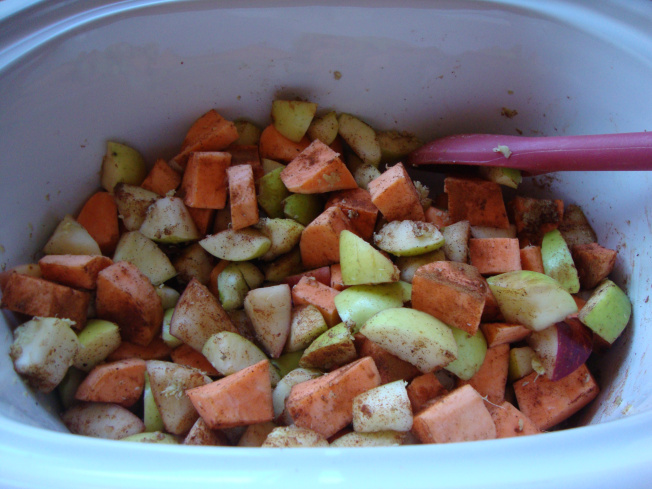
In a slow cooker, combine all ingredients except for water and syrup.

 
DSC05012

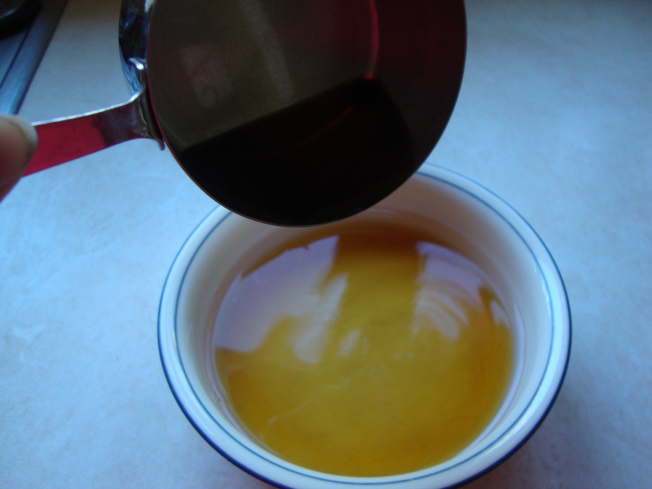
Mix syrup with water and pour over everything in slow cooker.

 
DSC05016

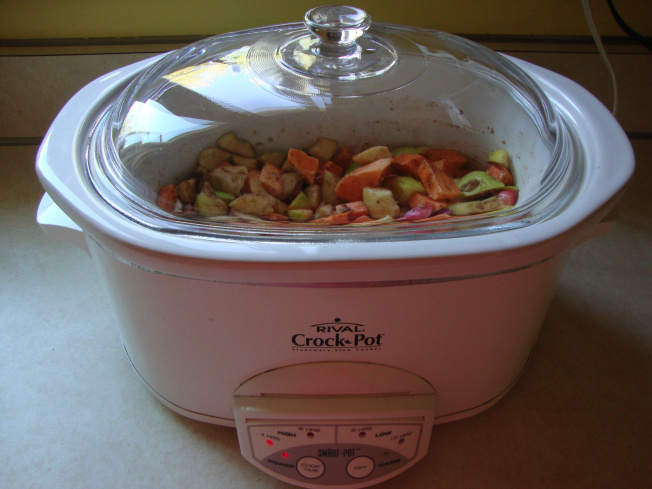
Cover and cook on low for 3-4 hours or on high for 1 ½ hours.

 
DSC05018

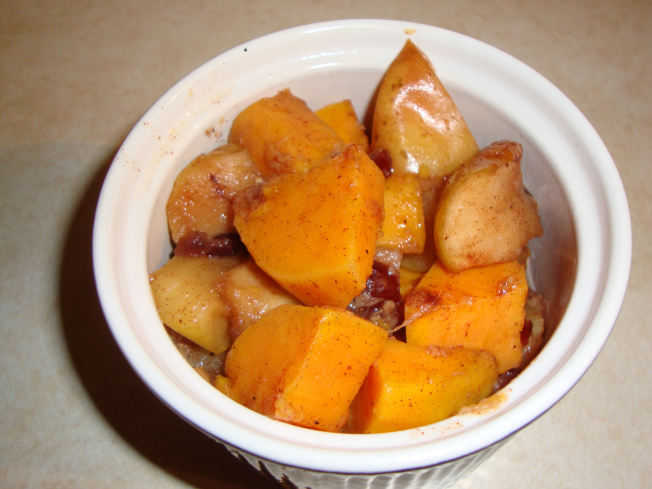
Enjoy!


DSC05022

This is an excellent recipe to take to a potluck.  This could also serve as a nice side dish on a Thanksgiving table, as it’s flavors would complement many other dishes.  As well, this could be a lovely dessert served alone or with whipped cream.  I hope you and your family enjoy this dish, as my family has.


Until next week, wishing you all of God’s blessings, good health and good eating!


Smiles, Maria

Fun Fall Décor with Pumpkins

Standard
Fun Fall Décor with Pumpkins

Hello Everyone!


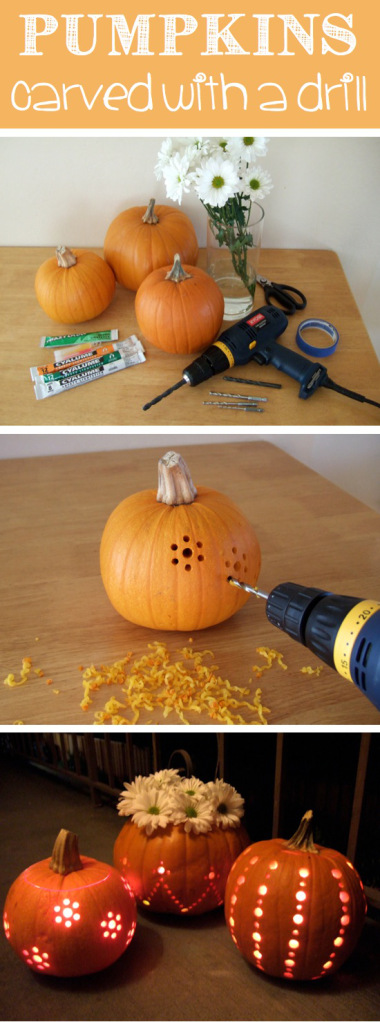
halloween 1Thought it would be fun to do a couple of Halloween projects with Halloween right around the corner this would be fun.

This idea caught my attention but I want to take it to a different level.

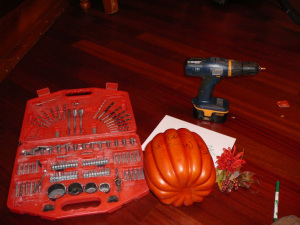
You will need: CRAFT PUMPKIN, Drill or dremel, Drill bits, Light kit, Flowers, stencils optional.

Tip: Make sure your pumpkin is a craft pumpkin and not a foam filled pumpkin.

I decided that I didn’t want to deal with real pumpkin; I wanted something I could keep and eventually grow a collection over the years. Craft pumpkins at Michaels Craft stores are the perfect thing for such an idea.  Craft pumpkins come in 3 different collars and different shapes for great mixing and matching!

These designs can be used for Halloween and also for Thanksgiving. It makes decorating for fall a little simpler and very Affordable!


First, lay out your design. I put mine down on paper then transferred it onto my pumpkin with a washable marker; excellent for a nice clean look when you are done drilling. If you are not the best at transferring the design you could use a stencil. They are a great optional tool!   

halloween 2                                                        

Once you have your design laid out match up your drill sizes that would best fit your design.

Note that the size of your drill makes the design look more intricate and gives it dimension. As you can see in this picture I also purchased a floral for $1.47 to adorn the top of the pumpkin. I was going to use a Dremel and cut out this design but realized that this particular pumpkin was filled with foam so make sure your pumpkin is a hollow craft pumpkin!

 halloween 3


halloween 4

Going from This above to This below!

halloween 5

Don’t be afraid to have some fun with your design. This look was accomplished with a using a stencil and a dremel tool and acrylic paint.

Tip: If you use Acrylic paint I sugest that you seal your pumpking with a clear acrylilc spray to protect the paint from chipping.

They also have glow in the dark paint too!  How Cool!

A second idea is to get creative with some Christmas lights. You can wind these perfect pumpkins with lights giving off different designs without too much effort. You will need craft glue-preferably a hot glue gun. Just string them together as you would Christmas lights.


halloween 6 

Thank you father that we can enjoy fun things like this in our lives.

Happy Halloween everyone!

Mischele Makhlouf

dear vanessa ~ the why’s in life

Standard

why's in life pic

Image of VanessaDear Vanessa,

My mom has breast cancer.  I remember one day I was driving down one of our main streets, we as a family were going through a lot of health issues at the time.   I looked up and there was a big poster of a beautiful woman and the poster encouraging breast cancer awareness.  I remember at the time, thinking, thank goodness my mom does not have that.  Things could be so much worse.  A few days later I found out her diagnosis.  Sometimes I just want to know “why”….   Many times in my life I have asked myself “why”.    And sometimes, I just wish I could take the pain away…

Sincerely, Vanessa


Yes readers this post is for me…  Each of us have experienced pain, and some have learned how to cope and to move forward with one foot in front of the other.   Others, feel so much, and feel the darkness surrounding them to the extent they cannot see the light.    I am here to tell you there is always light.   We feel the pain for the ones we love that are going through it and that is not a bad thing.    We have been brought together in each circumstance for a reason, and may not know the “why”, but I truly believe that all circumstances lead to good.

When your life throws you a curve ball, what is your tendency?  Do you take a step forward?

Our minds can take over and drive us into a pit of despair.  Believe me; I have been there many times.  But the question is, how long do you believe the lies? 

Sometimes we just want things to be fixed now.   I am one of those people that want resolution now.

At times my patience has been tested… But the “when” is not in our control.     We are not in control of the timing of life’s curve balls.   Many of us may be fooled to believe we are in control, but I am here to tell you we are not.

The one and only thing we can control is the “how”, how we respond to the painful experiences we observe or those that have a direct impact on us.

Part of me is in disbelief about all of the health issues that have arisen in my family these past three years.  It seems like a dream at times.  As I look in the mirror every day, and see that the face staring back at me has changed.

                Sadness and worry has been replaced with faith.

                I approach the day living in the now.

                I lift up my day to Him to lead.

                I can control my response.


I have realized that with God everything is possible.

He has shown me miracles,

He has shown me how to be faithful,

He has shown me the sunshine in the rain,

and He has shown me patience.

He only asks one thing, trust in Me…..
He tells us to not be afraid, and that we are to bring our worries to Him.

So today I ask you my friend, instead of allowing fear to erode your mind, ask yourself:

What if good will come out of this situation?

What if the sunshine is going to shine through the rain?

What if a miracle is about to happen?

What if I support the situation and let Him lead?

What if I lift it all up to Him?

Cause me to hear Your loving kindness in the morning,
For in You do I trust;
Cause me to know the way in which I should walk,
For I lift up my soul to You. (Psalm 143:8 (NKJV))

Dear Lord God,

Thank-you for always being there for me.  Thank-you for your constant reassurance.   Thank-you for showing me the sunshine through the rain, and carrying me when there is much pain.   I pray that we will start our days with you, and lift it all up to you.  I pray for this in Jesus’ Name Amen.

May you be blessed my friend,

Vanessa

If you have a question for Vanessa please email her at [email protected]

You can also read Vanessa’s personal blog and journey at www.nesschesters.wordpress.com


Healthy Organic Dried Apple Chips

Standard

Healthy Organic Dried Apple Chips


I was recently gifted with a basket of organic apples by dear friend Lisa, the founder of abeautifullifeministry.org.  Thrilled, I took them home and quickly found numerous recipes to use them in.  This is just the first of several using these that I will feature here. 

I have always loved getting apple chips in salads when I go out to eat, so I decided to make them myself.  (Plus, have you noticed how expensive apple chips are?  Not on my food budget!)  The recipe is simple, but it takes your oven a long time to dry out the apple slices out.  I’ don’t own a food dehydrator, so yes, I had to take the oven route,  So, be sure to do this when you’re home, and have 2-5 hours to leave the oven on.  

Apple chips are healthy, low fat, and not only make a great topping for salad; they also are a healthy snack for yourself or your family. So, get your aprons on, wash up those apples, find a sharp knife and an apple corer, and let’s get going!


Diff:  Simple   Prep:  1 hr   Time:  7 hrs


Ingredients:


30 apples (any variety), washed thoroughly

1/2 c. lemon juice


Instructions:


  • Core apples.  It is not necessary to peel the apples; you will save yourself lots of time if you don’t!  (Plus, the red peel looks pretty…)


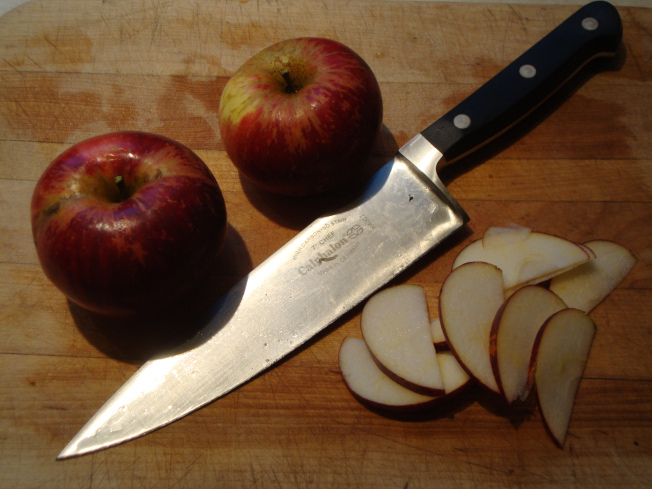
  • Slice apples thinly, 1/8 – ¼ inch.  (Thinner is better!)  You can slice them horizontally or vertically, it’s a matter of how you want them to look.

 DSC04980 

  • Preheat oven to 200°F.


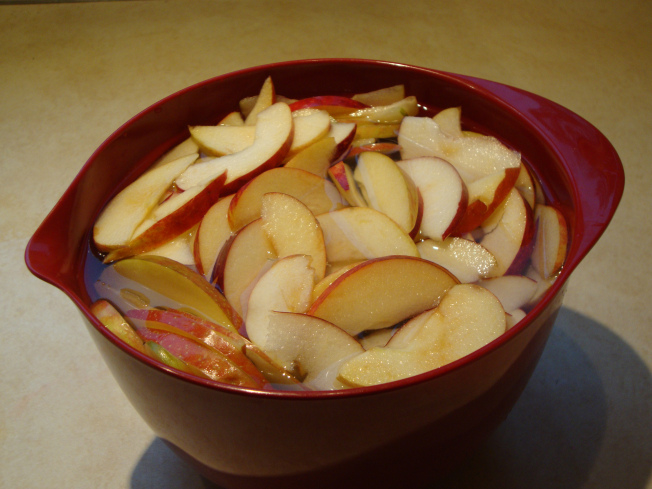
  • Put slices in large bowl of water (4 cups) with ½ c. lemon juice to prevent browning. Make sure slices are covered with lemon water; I had to keep dunking mine because the slices kept floating to the top!

 DSC04982


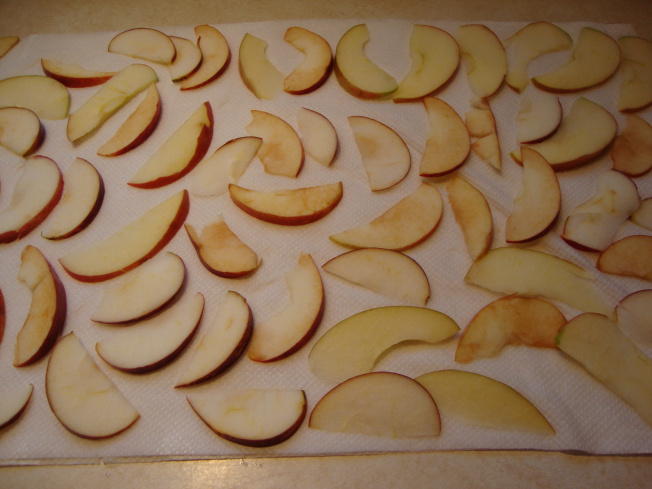
  • After apples are sliced, drain water and press as much moisture as you can from apples using paper towels; this will speed the drying process.

DSC04983

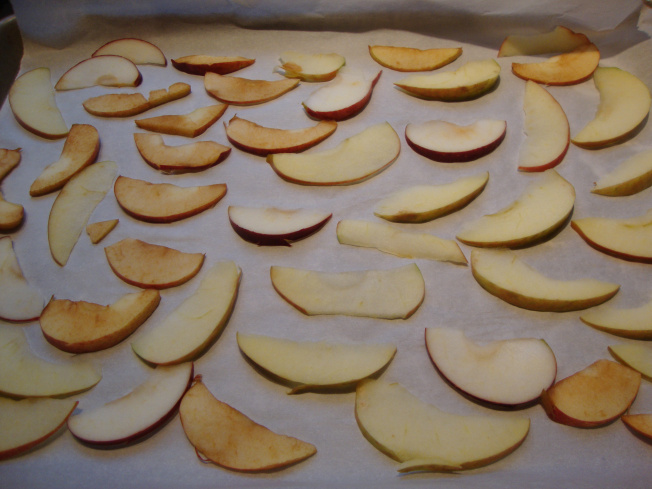
  • Place apple slices in a single layer on baking sheets lined with parchment paper.  Oops!  Looks like a few of my apples got a little brown, those must have been the ones that were floating on the top. 

DSC04984 

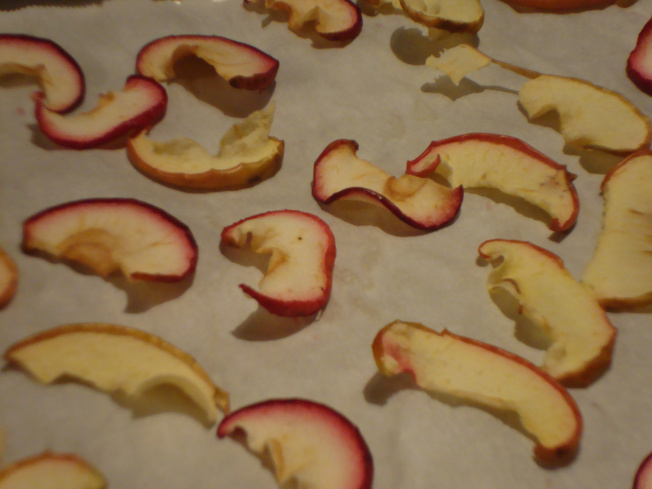
  • Place baking sheets on first and third racks in oven and bake for one hour.  Turn apples and bake for one more hour, then test to see if chips are dry enough; if not, continue baking one more hour.


DSC04985

  • Turn off oven, open oven door and let cool for one to two hours.  Remove chips from oven.

 DSC04987

  • Store dried apple chips in a sealed container or plastic bag for up to a week.  If storing more than a week, store chips in refrigerator for up to one month. 


Well, this is when my camera battery ran out…so no pix of finished product before we scarfed them down.  But take my word for it, they were delicious!


I hope you and your family will enjoy these wholesome chips.  Yummy in yogurt, chopped into granola, stirred into oatmeal or baked into cookies or cakes, these will help you get your “apple a day”!


Wishing you and yours all of God’s blessings, good health and happy eating!


Smiles, Maria


Hanging up and Hanging in

Standard


This week’s project will be “How to hang Cupboards”!

I may have mentioned that I am President of the “Trustees” at our church. This is my 5th year running our group and by far this year I have the best team. Really enjoying the fellowship, work and accomplishments we have made this year.

We have a couple who have become our Youth Directors and needed some cabinetry hung in their new kitchen so what better than to take a few pictures and teach on the subject.


Does it every amaze you how much your cupboard can hold. Imagine the weight they hold and yet they seem to stay strong and never cave to the demands that we put on them. It is the same way with our “God”. He is even better than a cupboard because of that personal relationship you can have. If you work on hanging in there with him he will never fail you.


Things you will need for this project:

Drill and Impact drill is even better for driving screws

No. 8-3” wood screws or 3” drywall screws will do.

Cupboards of course

Level and stud finder

Some scrap 1” x 6” or 2 x 4’s are otional -They will be used as a jig to make the job easier.


First I want to introduce you to Dave (left) and Jeff (right). Dave actually teaches word working and Jeff is the Father of Erin who is our Youth Director.  They really made this job simple.

cupboard 1

We were actually using cupboards that were donated to the church so we did a little measuring to see what would fit where and amazingly we didn’t have much trouble deciding where we would hang them. As if they were made for the kitchen. “God is Good Right”!

 cupboard 2

We are actually working in a corner so we took the time to find some studs to anchor the screws in and marked them on the wall below the cabinet for reference.

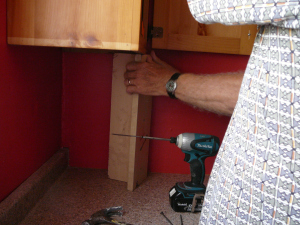
Dave had this neat little jig for setting the cupboards on so you don’t have to hold them up while you are trying to secure the cupboard.

It is basically 2pcs of 1×6 cut to 16” long (or desired height) and “T’d” together. I believe this picture does it justice if not the last picture of the article will help.  The 16” height is the space between the bottom counter and the bottom of the upper counters. Obviously you can make this little jig to size but it really did make it easy to adjust the cupboard on.

My father and I use a different method. We first figure out the height we need our cabinet to be and then use a chalk line w/a little bubble level on it and snap the line. Then we hang a 2×4 on that line and screw it into the wall.


We then proceed to put the cabinets up tipping the back of the cupboard on top of the 2/4 we just secured. That works rather well too; especially if you working on an un-level surface. This method is used in older homes or basements.

 cupboard 3

Once we have the cabinet in place and make sure it is level; we use our Impact drill to put the screws in place.

I never new what an impact drill really did but let me tell you….I have got to get me one of these! Especially if you don’t have a lot of upper body strength or you are trying to drill from an awkward position. This thing needs no muscle. The screws go in smooth as silk.

If you do not have an impact drill; use a drill bit smaller than your screws and pre drill holes. Then go ahead and put your screws in. I usually just pre-drill 2 holes. Put the screws in and then I finish the rest of the cabinet. Not there are 3 (?) inside this particular cabinet so I put screws on both sides of each of them according to where my studs lay.


Here is the finished product. We had windows to work around and all kinds of stuff that were already existing on the walls so I think this came out really well considering the cabinets were not specifically made for the kitchen. (Arrow is pointing out the 1 x 6 jig)

cupboard 4

Well Bona petite my friends.

Have a wonderful weekend!


Mischele Makhlouf

Tomato, Sausage & Cheddar Bread Pudding

Standard

maria wolffeThis dish is absolutely delicious!  It’s a great use for day old bread, and contains ingredients that can easily be found in most home pantries.  This is great at your own dinner table, but also is a great dish to take to potlucks and picnics.  The addition of brown sugar is unusual, but serves to make the dish heartier.  This pudding is a little richer than I normally make, so if you want a lower fat version, you can substitute whole or 2% milk, reduced fat cheddar cheese and switch to turkey sausage. I, however, made the recipe just as it appears below.   Feel free to experiment as that’s half the fun of cooking!  I gave this recipe a rating of Intermediate Difficulty because of the number of ingredients and amount of chopping involved. Recipe is easily doubled and can be frozen.


Diff: Inter    Prep: 30 min

Bake: 45 min    Serves 12


Ingredients:DSC03618


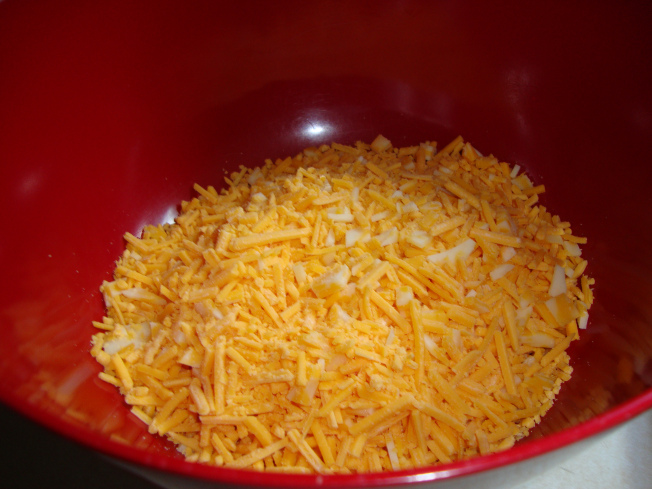
3 c shredded sharp cheddar cheese (12 oz)

1 can diced tomatoes, (28 oz), drained

1 # Italian bulk sausage

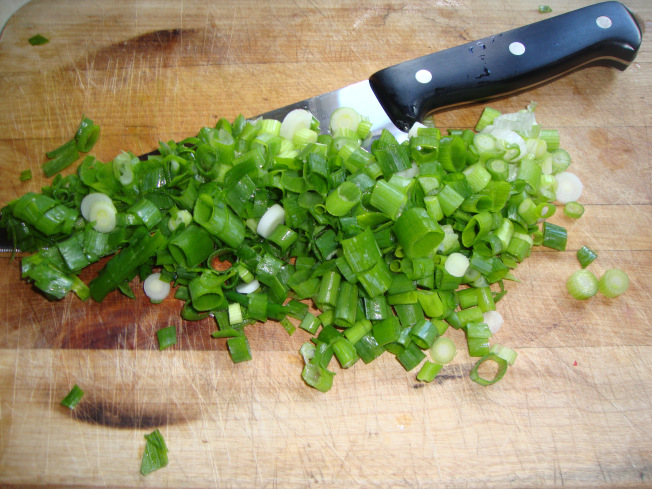
4 green onions, thinly sliced

¼ c. fresh basil, minced or 1 T. dried basil

¼ c. packed brown sugar

1 t. dried oregano

1 t. garlic powder

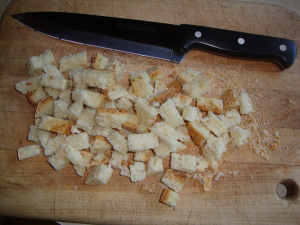
3 cups cubed day old French bread

6 eggs

1 ½ c. heavy whipping cream

½ t. salt

½ t. pepper

½ cup grated Parmesan cheese


Directions:


  • Preheat oven to 350 degrees.

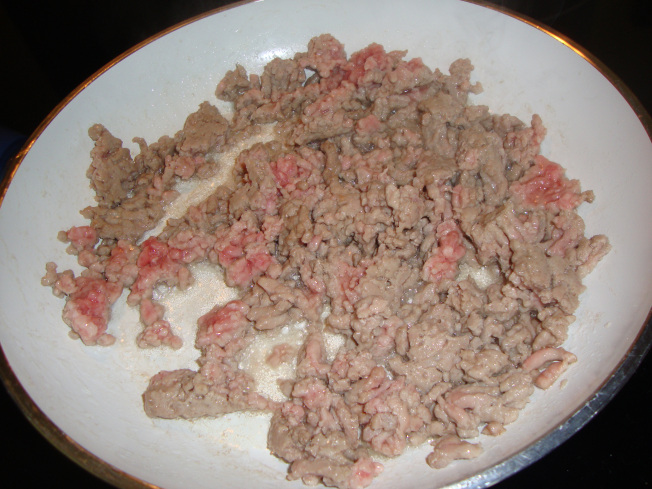
  • Cook Italian sausage, breaking meat up into small crumbles as it cooks.  When done, remove sausage, drain on paper towels and let cool.

DSC03623

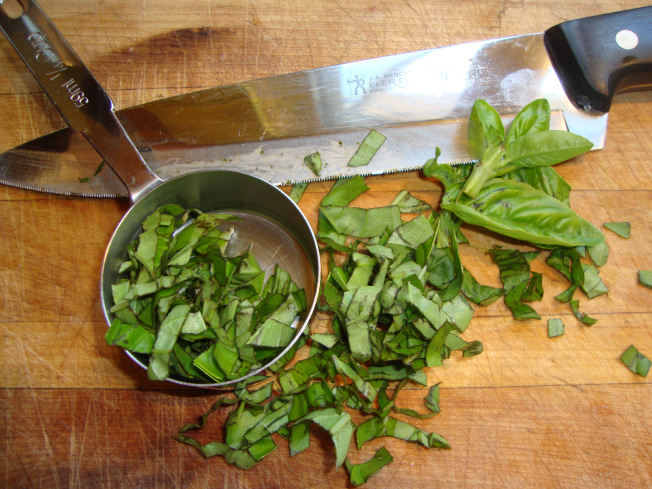
  • Mince basil, green onions, set aside.

DSC03628 DSC03620

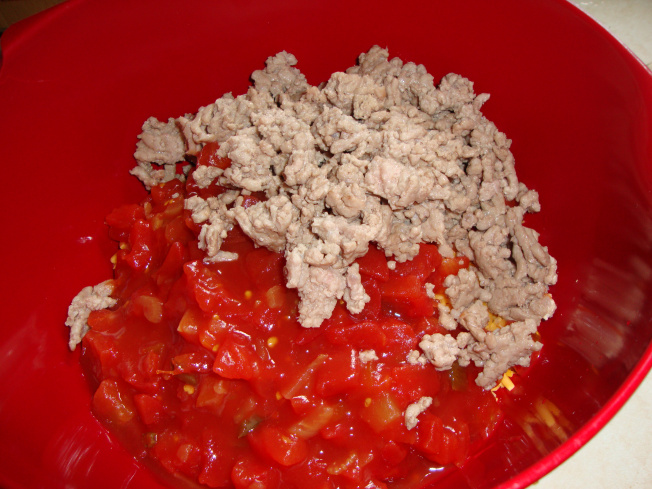
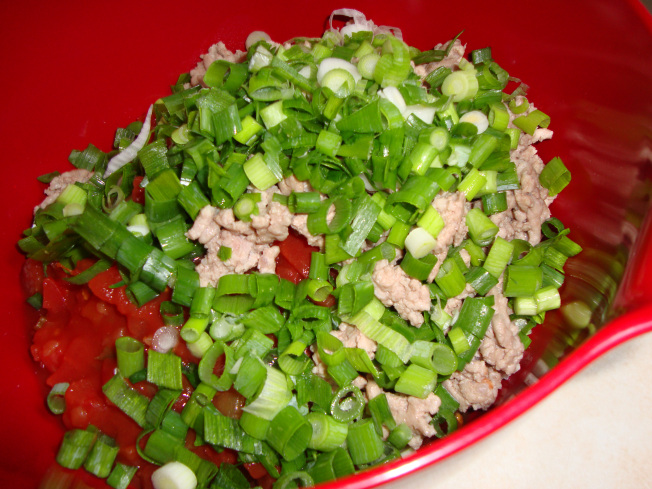
  • In a large bowl, combine the cheese, tomatoes, sausage, green onions, basil, brown sugar, spices and mix together well.

DSC03621 DSC03624 DSC03625

  • Stir in bread and mix until bread is well incorporated.

DSC03639

  • Transfer mixture to a greased 9 X 13 pan or divide evenly between two 1.5 qt. Casserole dishes (only showing one casserole dish due to space considerations).

DSC03642

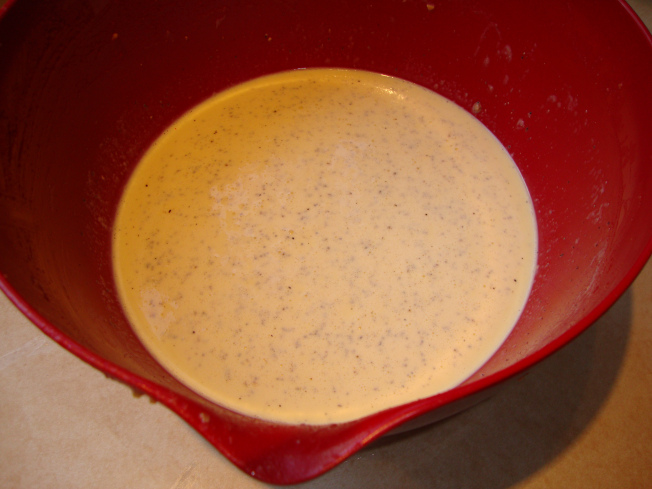
  • In the same large bowl (time savings!), whisk eggs, cream, salt and pepper.

DSC03645

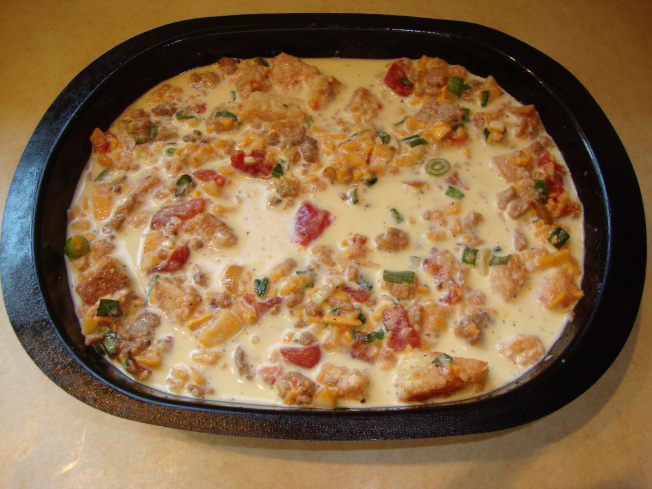
  • Pour mixture over bread mixture. 

DSC03647

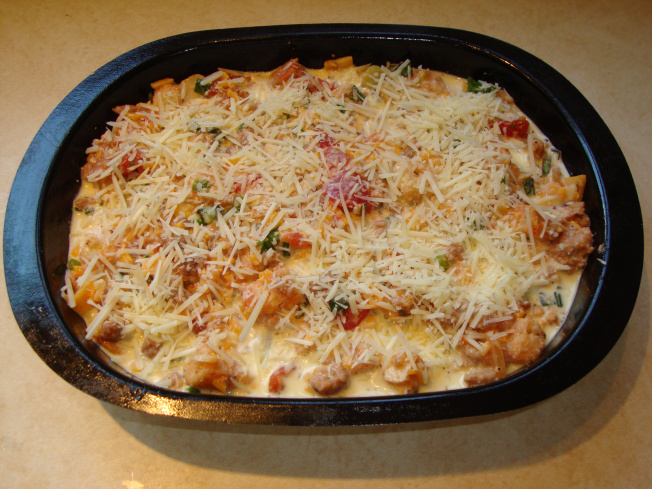
  • Sprinkle Parmesan cheese on top.

DSC03650

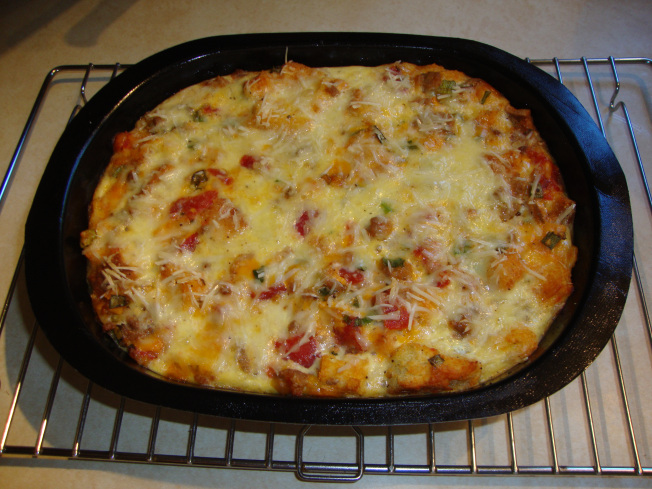
  • Bake at 350 for 45-50 minutes or until a knife inserted in the center comes out clean.

DSC03655

  • Serve and enjoy!


This made my kitchen smell so good while it was cooking that I was literally salivating waiting for it to come out of the oven. 

Yes, with all those ingredients, this recipe is a bit of work, but it’s sooo delicious it’s worth all the grating and chopping it requires.  Keep this recipe in mind for your Thanksgiving or Holiday table, it’s that good!

Until next week, wishing you and yours all of God’s blessings, Good Health and Happy Eating!


Smiles, Maria

Bounty

Standard

Matthew 6:25-34
[Do Not Worry ] “Therefore I tell you, do not worry about your life, what you will eat or drink; or about your body, what you will wear. Is not life more than food and the body more than clothes? Look at the birds of the air; they do not sow or reap or store away in barns, and yet your heavenly Father feeds them. Are you not much more valuable than they? Can any one of you by worrying add a single hour to your life? …

bounty

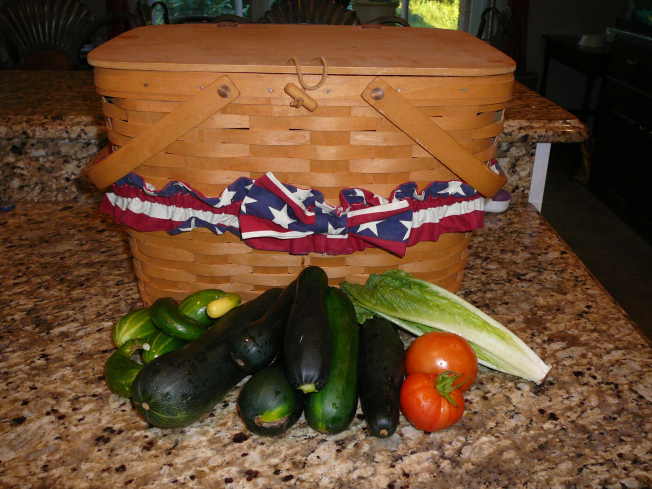
Remember the Garden boxes I taught how to build this spring in the attempt at being able to have a more plentiful garden. Well it worked great! No more dealing with Clay! It was such a hit that my husband and I are planning on building 2 more for next year. We need more room for more produce.

I however did not have enough tomatoes this year to do any canning from our garden this year. This little adventure sure has been a work in progress. Maybe next year!

Fun Fact: Raised beds yield up to four times more than the same amount of space planted in rows. That’s due not only to their loose, fertile soil but also to efficient spacing—by using less space for paths, you have more room to grow plants.


Our soil was new this year so I thought it might be fun to talk about amending your soil for fall so that the nutrients will have a chance to work its magic for spring planting.


Work the soil to prepare it for planting.  Clear out all the dead plants from this season harvest. Using a trowel or shovel, move the soil while it is dry. Working with wet soil will make it difficult to move and aerate, and it will stick to your tools. If soil pH conditions aren’t ideal for growing tomato plants, add fertilizer to prepare your soil for planting.


Supplement the soil. Apply peat moss, compost or manure (humus) to the soil to improve its quality. Mix in small amounts of any or each of these components as you dig and mix your soil prior to planting. The richer the soil, the better the growing conditions.


Know the acidity of your soil. Soil kits can be purchased on line or in your local hardware store for as little as $15.00 dollars. It certainly helps to know what type of soil you have and what you can do to enhance it so that it produces a better crop. PH, Acidity and Alkalinity play a large roll in having good fertile soil.


Acidity and Alkalinity

The acidity or alkalinity of soil is measured by its pH. Neutral soil has a pH of about 6.5, while anything higher is alkaline and anything lower is acidic. Green beans grow best in neutral or near-neutral soil, though they can tolerate a pH anywhere between 5.5 and 7.5. If necessary, you can raise the pH of your garden soil by incorporating ground agricultural limestone or one of several other liming products. You can lower the pH by adding elemental sulfur or a fertilizer containing ammonium sulfate.


Know your crop. Not all crops want the same soil. I am planning on do some investigative work and designate each raised bed for different crops. For instance tomatoes like a loamy fertile soil while Green beans like a Neutral soil.


So get out there and clean out the last of your crop. Enhance your soil. I am planning on tarping my raised beds over to keeps weeds and leaves out. I am hoping it will leave me a really nice pallet to start seeds in next spring.


Have a great week my ladies!  Mischele Makhlouf


dear Vanessa ~ friend or parent

Standard

friend or parent pic

Image of VanessaDear Vanessa,

I have a child that does not like to be told they cannot do what they want.   My daughter seems to think she is always right, and disrespects me on a regular basis.  She is only 8 but I just don’t know how to deal with this behavior….  I often get exhausted and depleted from the behavior.   I just feel like lifting my arms up and saying “whatever”.  I know this sounds  bad, but everything is a constant fight.

At wits end,

Jessica

Dearest Jessica,

I understand the dilemma; children like to exert their independence and press forward with satisfying their own wants and needs first.

Our children are precious gifts given from up above.   We are blessed to have them be part of our lives.   From the moment of conception, something beautifully made grows… Innocent at birth, a blessed miracle sent to us.

Our children change our perspective for the good.  Sometimes we are not ready for the change, but there is such an amazing opportunity for learning.   As they grow they demonstrate uniqueness and they cry out to us for their needs to be met.  There is no manual on how to raise our children… We often learn as we go.   However, we are expected to raise them up in ways that demonstrate respect, integrity, humility, and boundaries are a must.

“Start children off on the way they should go, and even when they are old they will not turn from it.” Proverbs 22:6 (NIV)

From day one babies cry to get a response, the immediate gratification is fulfilled.   But as they grow and become more aware, if we give into the immediate gratification, they will not learn the important lessons of boundaries and respect of others opinions.  

Too often I am torn between giving in to the crying or the unhappiness, so that I can give that instant gratification.   But if the instant gratification is fulfilled, they will not learn the way to function in this society.  They will not learn the basic concept of do onto others as you would like them to do onto you.   The reason being, is when one receives instant gratification and is not told “no” on an ongoing basis, they then believe that their wants and needs are justified and should come first.  

The first shall be last and the last shall be first……   A statement that shows us that being first and being individualistic in needs does not end well….

Being a parent was not meant to be easy.   We have moments where we feel “Yes! Look at this amazing child.” And you feel that warmth of your heart knowing you are making a difference.  But then there are those days where you look at the child, and think – “What did I do wrong?  How can I fix this?”

We were not meant to “fix” the issues.   We are meant to do is empower our children to become productive contributors to society and to recognize right from wrong.    We do this by setting boundaries for our children in their own lives so that they can implement them in their own.   They have to hear the word “no” or “I don’t agree with the behavior”.   Further, they need to know how to accept feedback in their lives as a constructive way of building them the best people they can be.   So in that we must reinforce the positive behavior and help illustrate the power to choose their responses to the situations in their lives.     

I am far from being a perfect parent, I am learning…. But I do know something that is vital in the success of my little boys – empowerment to choose their response.   This is the one thing in this life that we have control over.   Also, that the “no’s” in this life are not meant to hurt us, they are meant to set boundaries and teach us valuable lessons in this life.

I choose to be a parent rather than a friend to my child.    The reason being is that when my children get their wings to leave and decide their direction, I can sit back and be a confidant and friend then……

A resource that is very helpful on this topic is Boundaries and Children by Henry Cloud.

It is difficult, I know beautiful lady, but give yourself some grace and realize we are all in the same boat.  

May you be blessed.

Dear Lord God, please guide all of the parents in this world to raise their children up in your ways.  I ask that you give us the patience, discernment, and ability to set boundaries, and build a positive environment for our children.  Help us to understand their unique needs and wants while providing a balance and setting the expectations they need to be successful and contributors in this life.   I pray for Jessica and all of the parents that are navigating through this difficulty.  In Jesus Name Amen.

Easy Rustic Plum Tart

Standard

maria wolffeThese lovely tarts became popular a few years ago; and I have always wanted to make one.  I like them because, one, you only use one sheet of pie dough so the tart doesn’t have so many calories.  Two, I love the way the dough enfolds the fruit, almost like a hug. (We all like hugs, right?)  And three, I love the way the fruit looks peeking out from the crust, it looks so inviting you want to grab a fork and dig right in!  This is also a low fat dish because it uses only 1 egg white and 3 T. plus 1 t. of coarse sugar; so is a good choice for people that are watching their waistlines. This is a great light summer dessert for your family or even for company; all you would have to do dress it up with whipped cream.  This dessert is sure to win you oohs and ahhs from your guests!


Diff: Easy  Prep: 15 min  Bake: 20-25 min  Serves: 8


IngredientsDSC03652


Pastry for single-crust pie (9 inches

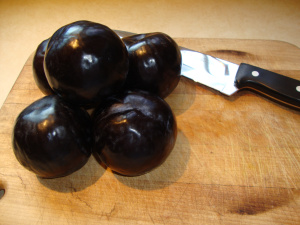
3-½ c. sliced unpeeled fresh plums

3 T + 1 t coarse sugar, divided

1 T. cornstarch

1 egg white

1 T water


Directions


  • Heat oven to 400 °.

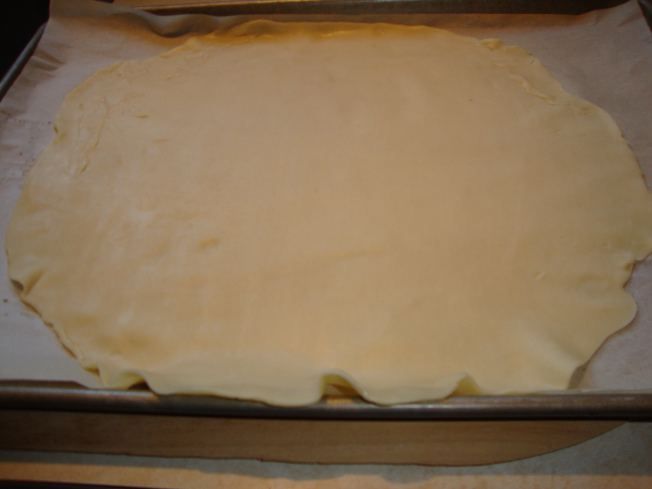
  • Roll pastry into a 12 inch circle and transfer to a large baking sheet lined with parchment paper.

DSC03660

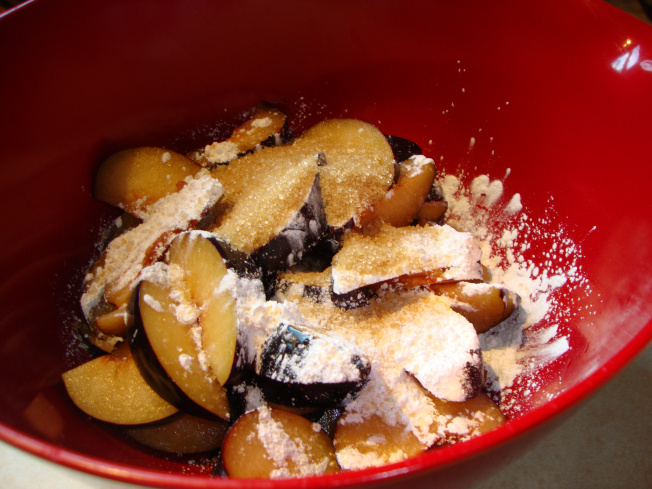
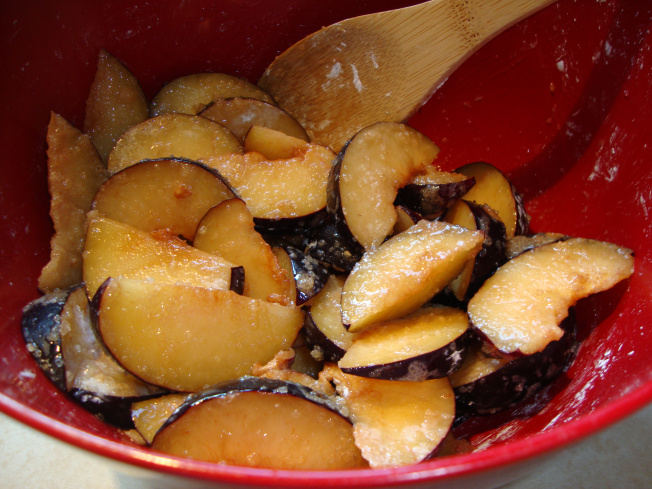
  • In a large bowl, combine plums, 3 T. of coarse sugar and cornstarch; mix well to coat.

DSC03661

DSC03662

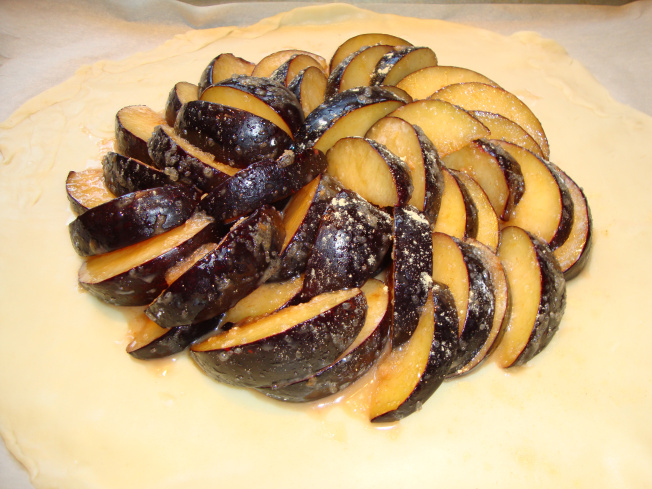
  • Arrange plums in a pinwheel pattern over pastry to within 2 inches of edges.

DSC03663

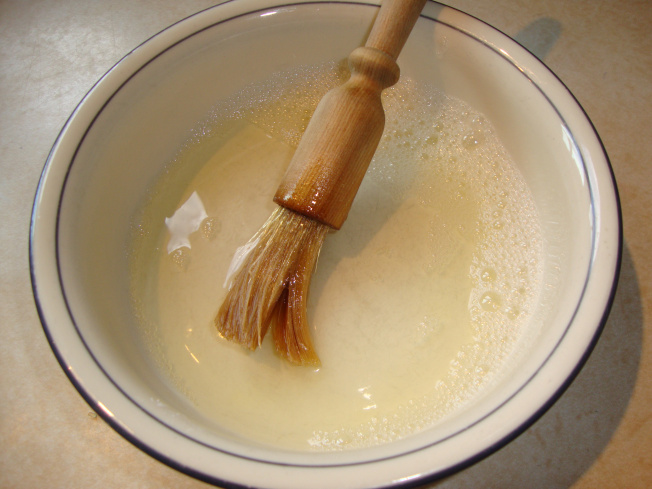
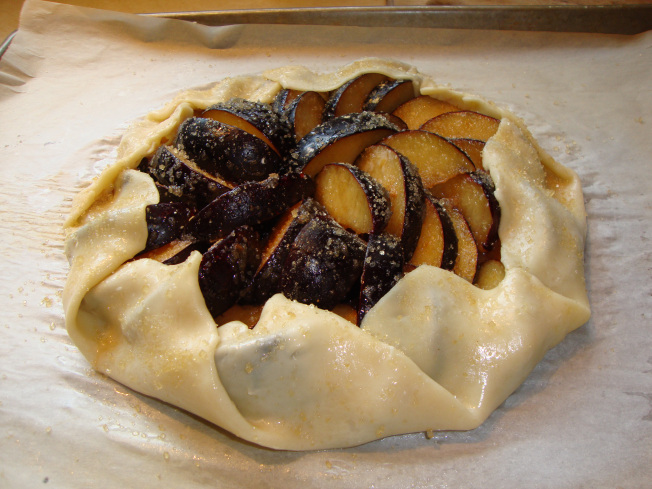
  • Fold edges of pastry over plums. Beat egg white with 1 T water and brush over pastry.  Sprinkle edges with 1 t. coarse sugar.

DSC03665

DSC03664

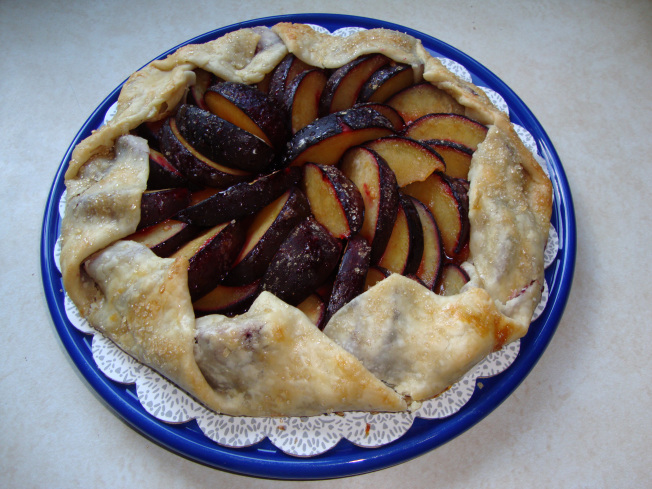
  • Bake at 400 ° for 20-25 minutes or until crust is a light golden color.

DSC03668

  • Enjoy!


This is so incredibly easy I don’t know why I didn’t try to make one before.  Now that plums are in season, I’ll have to make another one!  The one pictured above didn’t last but a day!

I hope you’ll try to make one of these soon. They look so elegant; your guests will think you fussed for hours !  However, this is so much easier than making a regular pie, I might never go back and make another!  (NOT!)


Until next week, wishing you and yours all of God’s blessings, Good Health and Happy Eating!


Smiles, Maria


Firepit lll

Standard

mischHowdy Gang,


Well here is the final frontier and we honestly be cooking with fire by the time we are done.

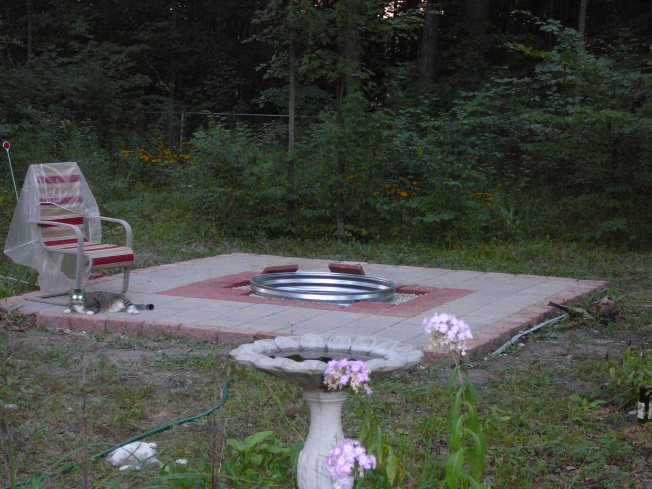
So far we have manage to design, layout our brick edging, set our fire place ring, fill in the area with slag and put in our patio stones.  Looking good wouldn’t you say?!

Nice and level and even my cat has moved into the picture!

firepit 3 1

The next step that I did was take my wet saw and cut the stones to fit around the fire pit ring.  Since this is a minor project you can take a skil saw…meaning just a regular electric hand saw and put a masonary blade on it. Wet down your patio stones quite a bit. Measure and mark the lines you wish to cut and just start filling in the last bit. The best way is to keep water running onto the cement stone. Definitely be very careful not to get your power chord in water. I think I only had to cut 8 to 10 stones.

OLYMPUS DIGITAL CAMERAThey are minor cuts and should be

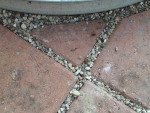
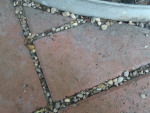
Fairly easy to manage with a skil saw. Don’t worry about being exact because as you can see you will be filling the seems in with pea gravel or slag. Depending on your choice of look.OLYMPUS DIGITAL CAMERA

Ok now all the stones are in place so it is time for the finishing touches. I used approximately 5 bags of (small) pea gravel to fill the cracks in. I spread it out with a broom. Don’t pile it in one spot it is hard to get it moving just kind of pour it all over an area and then proceed to broom it into the cracks.firepit 3 4

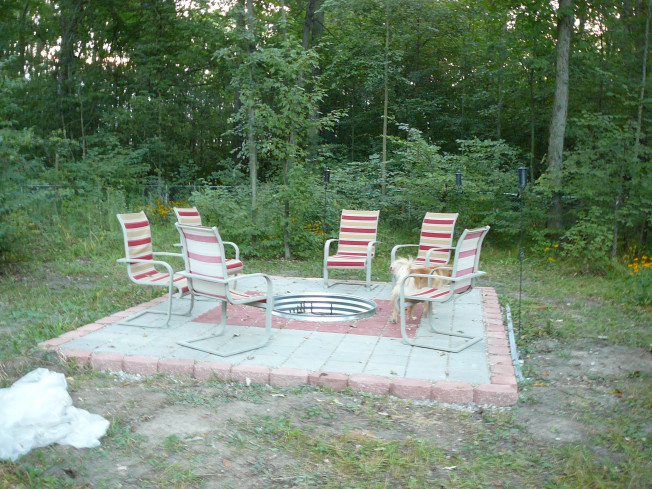
Of Course you need to add in some chairs. I purchased these from a garage sale, the were all torn up. I purchased out door material on sale and refurbished them. It was kind of like wrestling a monkey to the ground. LOL but I would do it again. Someday I will have to teach you all how to sew!

firepit 3 5

A few years later, I decided to plant some hosta’s to soften the edges and put a few little Stone tables near the chairs for comfort and I also with some Tiki torches. We are able to sufficiently back up from the fire if it gets too warm so it has been well designed.


We have enjoyed this for 3 years only a couple of patios stones have moved over that amount of time. I have to say that I am truly happy with the result thus far. Only thing I found I need to do is hit a few spots with weed killer….I think because I used pea gravel instead of slag for looks but otherwise it is pretty maintenance free.

Gotta love Maintenance free!


Happy Fall Days to you all!

Mischele Makhlouf