Hello everyone! Happy Memorial Day Weekend. God Bless our Soldiers here and gone. Be sure to be thankful for our freedoms. This weekend is one of those long weekends that you are either traveling or getting a ton of yard work done. I really wanted to be able to show this in a video but unfortunately I have a bit of research and learning to do before I can accomplish that goal. Not to mention I am a bit camera shy?! LOL
What you will need for this project is:
4) 1 in x 6 in x 8 ft long boards - cut into 4 ft sections
2) 4 in x 4 in x 8 ft long posts-cut into 6 sections that are 16″ tall (you can cut these shorter if desired. Minimum 12″ in height)
1 box of decking screws 3- 3-1/2 in long
1 to 1-1/2 yards of good dirt
Drill, and drill bit with counter sink drill bit (drill bit has to be a smidge smaller than the diameter of your screw)
1-1/2 hrs of time
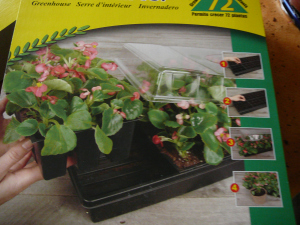
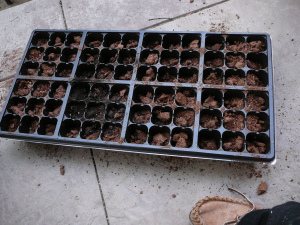
As you can see I have my seed starter kits out and ready for planting.
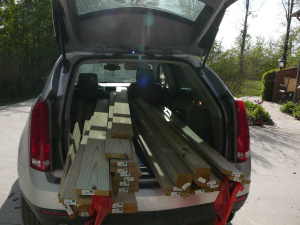
First of all I started cutting my wood up into 4 foot sections. If you do not have a table saw or a skill saw Home Depot will do this on site for you. It is a free service they offer. Pretty cool I think. That way your vehicle doesn’t look like this! Don’t forget if your hauling long boards sticking out past your tail lights you need to put red flags on them. Informing the driver behind you to take caution. Home depot also provides these at no cost.
I then cut my 4×4 IN into 16″ sections. I did this so that if I don’t have time to seed a head of time I can fasten some bisqueen (light plastic) over the posts so that it will act as a terrarium. It helps keep the seeds to germinate and keeps moisture in until there is no danger of frost and they are big enough to handle the elements.
Once you have everything cut you are ready to assemble!
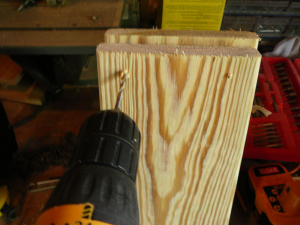
Here are few pictures of drilling your holes. You need to have them on a pretty good angle in order for them not to show. The best way to demonstrate that is to show you pictures. Begin by drilling a hole straight into the board.
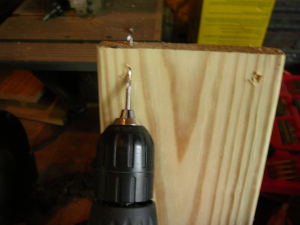
 Then proceed by using that hole and drilling in an upward almost 30 degree angle.
Make sure you come out approximately in the middle of the board.
This makes it really easy when you go to insert the screws into the 4×4 sections you have cut. Set your bottom board just past the lip of the 4×4 post and drill the bottom and then the top hole. You will notice that the screw will pull the two boards together nice and tight. Once you have the first board in place add the second board on top of the first as if building another level.
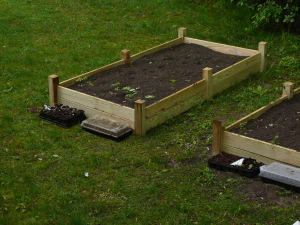
I assembled all of my sections with the 4×4 to my left on a flat surface in my work shop then I took all the sections out to where I would be putting the permanently and fastened them all together. You should have a total of 6 of these sections. Take a look at the picture and you will see how easily the way I did it will go. Think assembly line! LOL
Choose a good location 6-8 hours of sun!
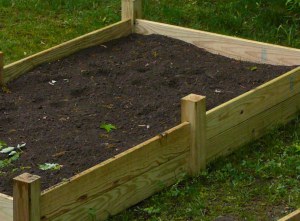
Once you have it assembled in place. Start throwing in the dirt….it takes a yard to a yard and a half. We had dirt delivered specifically for this project and for some other areas of my yard that needs some tending to.
You can never have enough dirt and rocks to decorate your yard with!
Memorial day weekend is usually the weekend that some of us backyard gardener’s like to use as a rule of thumb for planting! Usually there is no threat of frost by then but keep an eye out just in case.
If my garden is blessed and prospers this year hopefully I will be working with Maria in the kitchen at harvest time and we can show you how to can and freeze your fruits and veggies!
Everyone have a wonderful holiday weekend. God bless our troops! Be safe this weekend!
God, I am grateful that I have the freedom to grow my own garden and that we have the ability to watch it grown from seed to fruit. Help us to be a fruitful spirit as well. AMEN