Hello Everyone, This is the second part of our kitchen update and let me tell you it is definitely going to be inspiring.
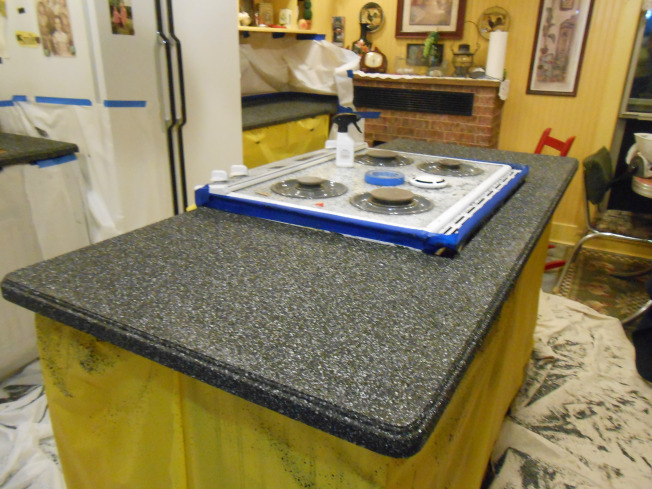
To recap, we have taped and sealed off areas to be protected. We have rolled on the adhesive and spread the paint chips. Now it is 24 hours later and we are ready for the next phase of this project.
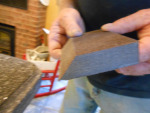
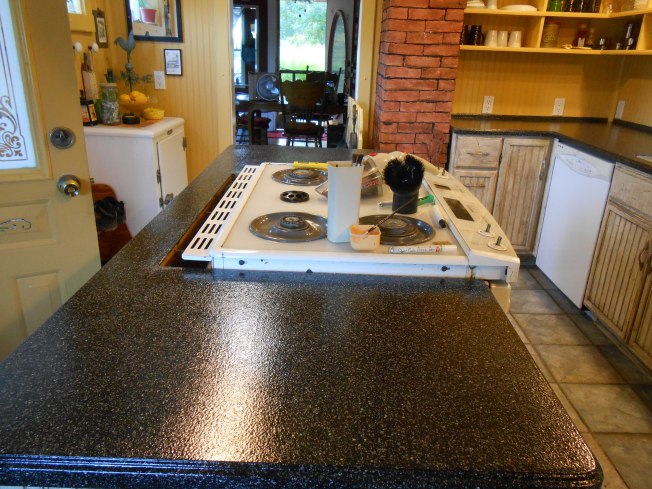
We will begin by Sanding down the surface we have finished by using the Sanding block included in the kit This is the surface we are beginning with. It looks amazing but wait till you get to the finish of the project-it really makes all the difference in look.
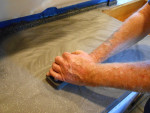
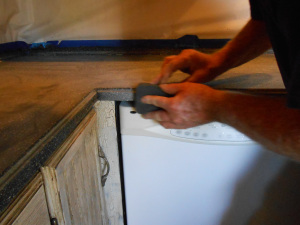
 This sanding wedge is great for getting into the crevaces. (Don’t forget your mask if you need one for allergies) As you can see my father is doing the circular motion as in the first section.
He is using the special end of the sanding wedge to get around the edge of the counter where it is beveled.
 Once you have sanded you need to clean up the dust using a shop vac. Check for any areas that do not feel smooth. You want the entire area to be completely dust free so check by swiping your hand over all areas checking for any remnants of dust.
It is amazing how much dust there really is…take your time with this 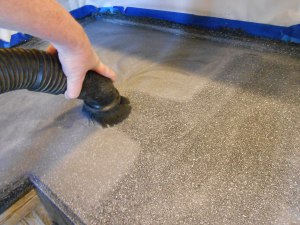 process. Getting the surface nice and even is really critical. Funny fact. I thought when we started to sand that all the paint chips would definitely come off. Amazingly they didn’t and after a good sanding the counters were ready for the final process.
As we were sanding (I guess this is common) you will find a few areas that did not adhere. Thoroughly go through all the areas you are covering and if you find it inadequate follow the same process as the first steps. Adhering the adhesive with a sponge then spraying and re-applying the paint chips and let dry.
Remember to let dry thoroughly…24 hours is best but my dad and sister let it dry for about 12 hours and it seemed fine to sand back down.
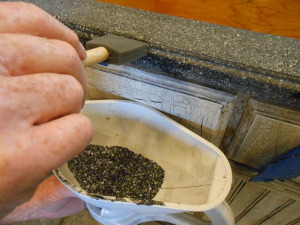
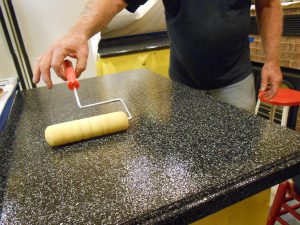
At this point we will be coating the counters with a two part epoxy. First we will mix the two ingredients together (epoxy and additive). You only have a ½ hour wind with this process so you want to work quickly. We again lined our paint tray with a liner. Prepared our roller using a foam roller and double checked our surfaces for any flaws.
As you can see my father is not using any force with the roller so that it does not leave lines in the coating. WOW did these counters pop once we started on rolling on the epoxy….evening after the epoxy dried it still had this look. After 24 hours you can begin to put a few light weight items on but they suggest being gentle on the surface until at least 48-72 hours has passed.
Check this out!
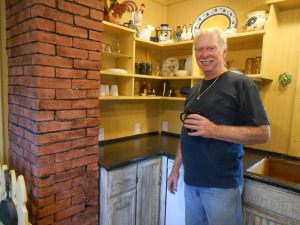
After a long weekend, my dad is finally feeling confident about the new look. It really accentuated the stress in the cupboards as you can see. The hole that you see to the right of my father is for the sink. We hooked that up the following day….loooks great! Amazing! Stupendous as my father would say and that fact you can do it yourself it really wonderful. The idea of using this project on many different surfaces could end in countless ideas. Tables….furniture,walls, the ideas are countless.
So let your imagine run and have fun with this wonderful project. I am sure you will find something to adapt it too!
Blessings for your week!
Mischele-Girl Friday
