Tag Archives: healthy

Maple Ginger Sweet Potatoes with Apples

Standard

This delicious, slow cooker recipe is a cool day delight!  Encompassing some of autumn’s favorite flavors, it is easy to put together, and thanks to a slow cooker; effortless to cook!  The rich flavors of sweet potatoes and apples meld seamlessly with the sweetness of maple and ginger, and the spices give it an almost pie-like flavor.  This is a wonderful, warming recipe that you will want to return to again and again.


Diff:  Easy    Prep:  15 min.    Cook:  4 hrs.   Serves:  6-8


Ingredients:


1 ½ # sweet potatoes, peeled & cut into bite-sized pieces (about 5 cups)

2 medium tart cooking apples, chopped

¼ c. dried cranberries

1 ½ t. grated fresh ginger

½ t. kosher salt

1/8 t. pepper

½ t. cinnamon

¼ t. nutmeg

½ c. water

¼ c. maple syrup


Directions:


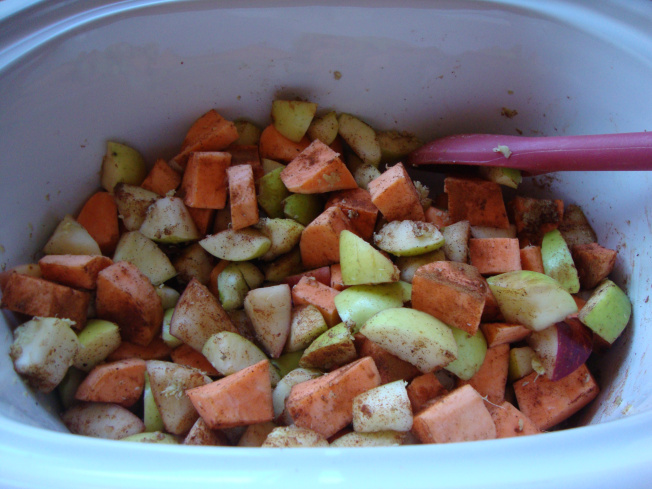
In a slow cooker, combine all ingredients except for water and syrup.

 
DSC05012

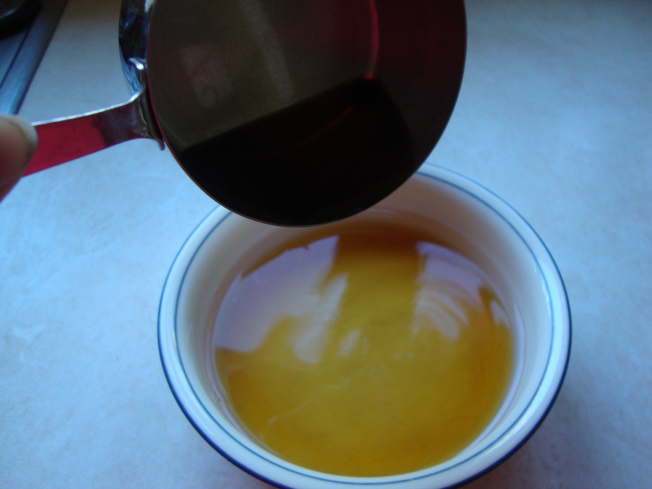
Mix syrup with water and pour over everything in slow cooker.

 
DSC05016

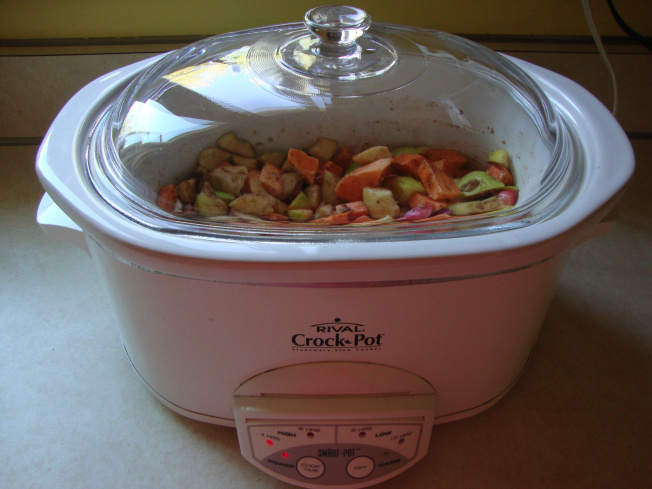
Cover and cook on low for 3-4 hours or on high for 1 ½ hours.

 
DSC05018

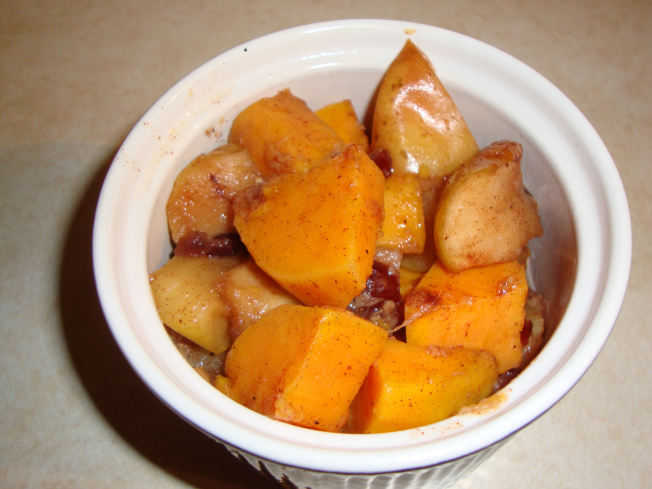
Enjoy!


DSC05022

This is an excellent recipe to take to a potluck.  This could also serve as a nice side dish on a Thanksgiving table, as it’s flavors would complement many other dishes.  As well, this could be a lovely dessert served alone or with whipped cream.  I hope you and your family enjoy this dish, as my family has.


Until next week, wishing you all of God’s blessings, good health and good eating!


Smiles, Maria

Healthy Organic Dried Apple Chips

Standard

Healthy Organic Dried Apple Chips


I was recently gifted with a basket of organic apples by dear friend Lisa, the founder of abeautifullifeministry.org.  Thrilled, I took them home and quickly found numerous recipes to use them in.  This is just the first of several using these that I will feature here. 

I have always loved getting apple chips in salads when I go out to eat, so I decided to make them myself.  (Plus, have you noticed how expensive apple chips are?  Not on my food budget!)  The recipe is simple, but it takes your oven a long time to dry out the apple slices out.  I’ don’t own a food dehydrator, so yes, I had to take the oven route,  So, be sure to do this when you’re home, and have 2-5 hours to leave the oven on.  

Apple chips are healthy, low fat, and not only make a great topping for salad; they also are a healthy snack for yourself or your family. So, get your aprons on, wash up those apples, find a sharp knife and an apple corer, and let’s get going!


Diff:  Simple   Prep:  1 hr   Time:  7 hrs


Ingredients:


30 apples (any variety), washed thoroughly

1/2 c. lemon juice


Instructions:


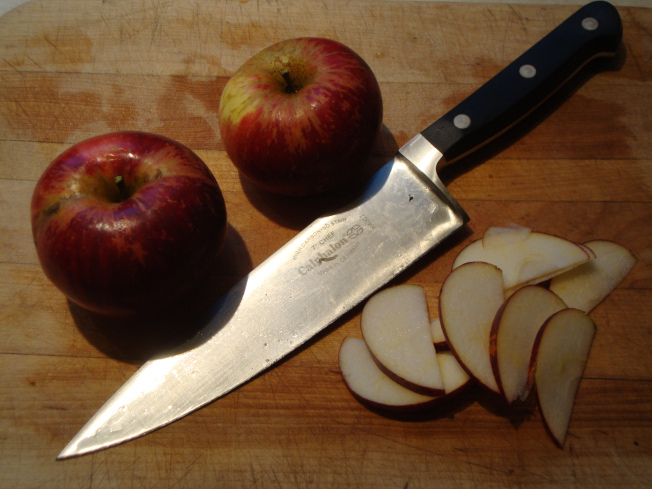
  • Core apples.  It is not necessary to peel the apples; you will save yourself lots of time if you don’t!  (Plus, the red peel looks pretty…)


  • Slice apples thinly, 1/8 – ¼ inch.  (Thinner is better!)  You can slice them horizontally or vertically, it’s a matter of how you want them to look.

 DSC04980 

  • Preheat oven to 200°F.


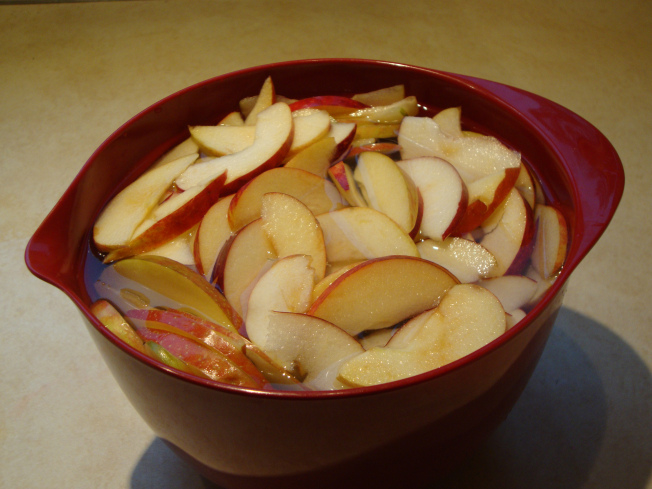
  • Put slices in large bowl of water (4 cups) with ½ c. lemon juice to prevent browning. Make sure slices are covered with lemon water; I had to keep dunking mine because the slices kept floating to the top!

 DSC04982


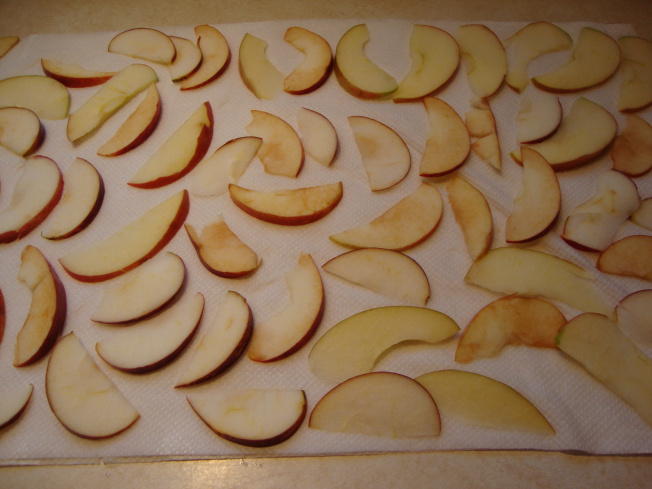
  • After apples are sliced, drain water and press as much moisture as you can from apples using paper towels; this will speed the drying process.

DSC04983

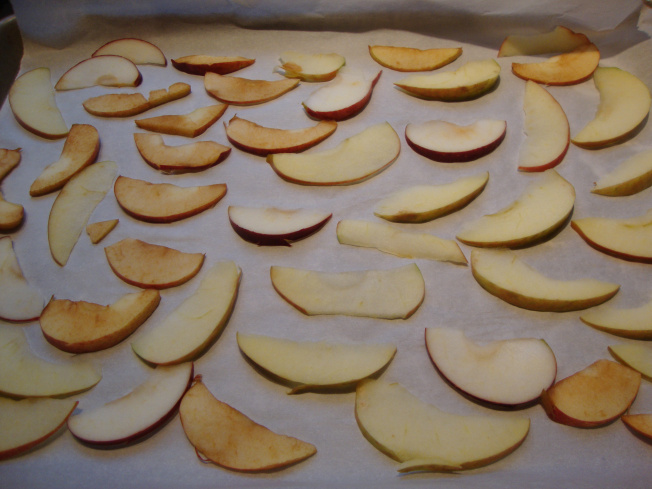
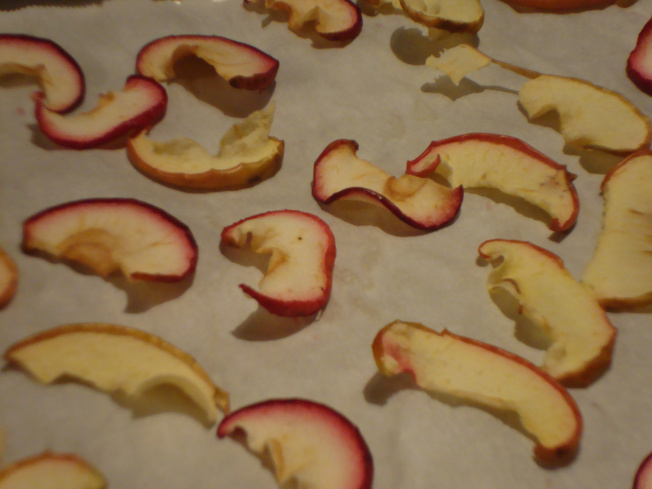
  • Place apple slices in a single layer on baking sheets lined with parchment paper.  Oops!  Looks like a few of my apples got a little brown, those must have been the ones that were floating on the top. 

DSC04984 

  • Place baking sheets on first and third racks in oven and bake for one hour.  Turn apples and bake for one more hour, then test to see if chips are dry enough; if not, continue baking one more hour.


DSC04985

  • Turn off oven, open oven door and let cool for one to two hours.  Remove chips from oven.

 DSC04987

  • Store dried apple chips in a sealed container or plastic bag for up to a week.  If storing more than a week, store chips in refrigerator for up to one month. 


Well, this is when my camera battery ran out…so no pix of finished product before we scarfed them down.  But take my word for it, they were delicious!


I hope you and your family will enjoy these wholesome chips.  Yummy in yogurt, chopped into granola, stirred into oatmeal or baked into cookies or cakes, these will help you get your “apple a day”!


Wishing you and yours all of God’s blessings, good health and happy eating!


Smiles, Maria


Easy Rustic Plum Tart

Standard

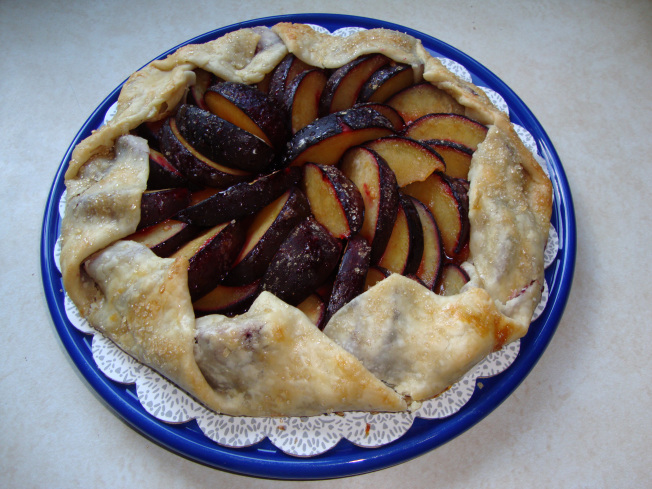
maria wolffeThese lovely tarts became popular a few years ago; and I have always wanted to make one.  I like them because, one, you only use one sheet of pie dough so the tart doesn’t have so many calories.  Two, I love the way the dough enfolds the fruit, almost like a hug. (We all like hugs, right?)  And three, I love the way the fruit looks peeking out from the crust, it looks so inviting you want to grab a fork and dig right in!  This is also a low fat dish because it uses only 1 egg white and 3 T. plus 1 t. of coarse sugar; so is a good choice for people that are watching their waistlines. This is a great light summer dessert for your family or even for company; all you would have to do dress it up with whipped cream.  This dessert is sure to win you oohs and ahhs from your guests!


Diff: Easy  Prep: 15 min  Bake: 20-25 min  Serves: 8


IngredientsDSC03652


Pastry for single-crust pie (9 inches

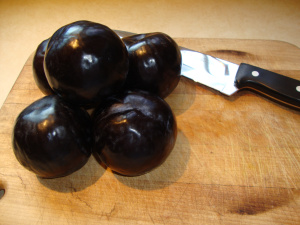
3-½ c. sliced unpeeled fresh plums

3 T + 1 t coarse sugar, divided

1 T. cornstarch

1 egg white

1 T water


Directions


  • Heat oven to 400 °.

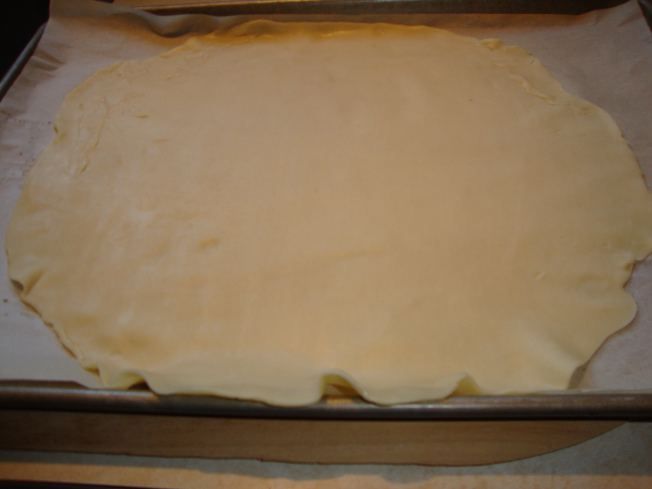
  • Roll pastry into a 12 inch circle and transfer to a large baking sheet lined with parchment paper.

DSC03660

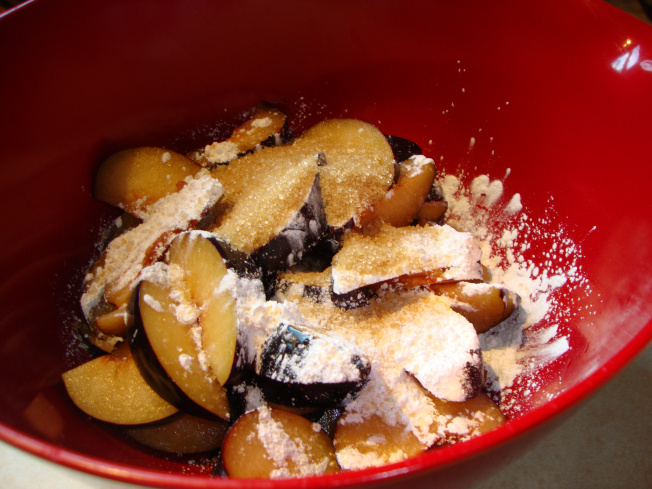
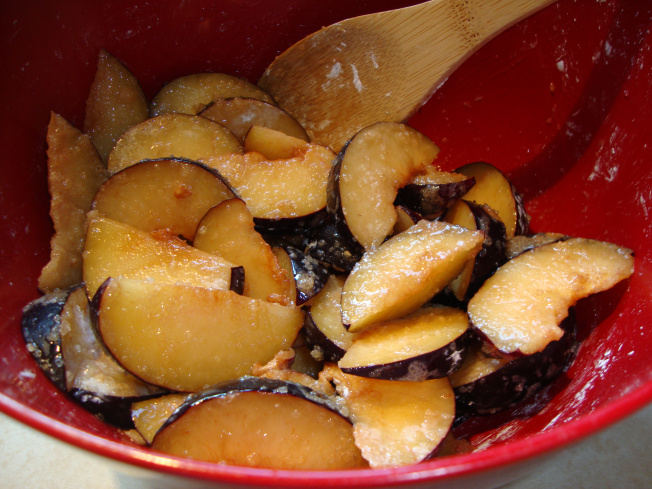
  • In a large bowl, combine plums, 3 T. of coarse sugar and cornstarch; mix well to coat.

DSC03661

DSC03662

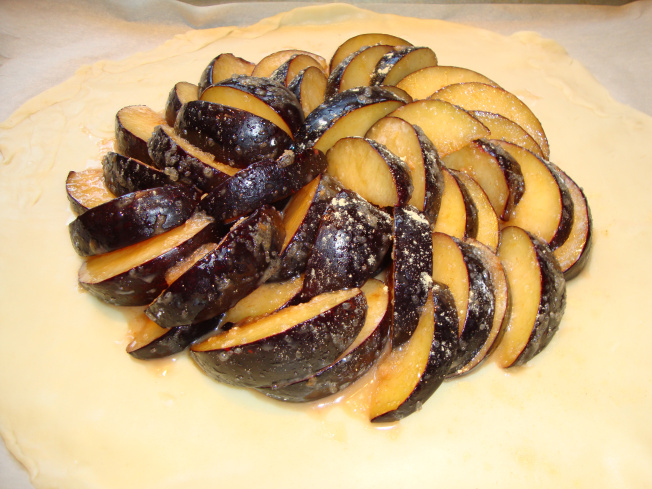
  • Arrange plums in a pinwheel pattern over pastry to within 2 inches of edges.

DSC03663

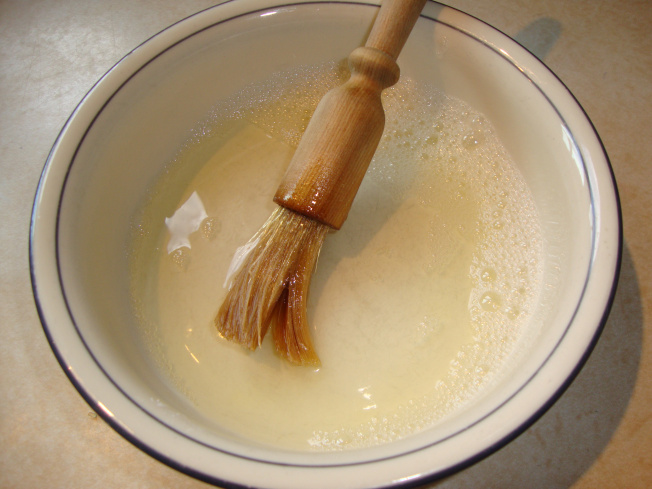
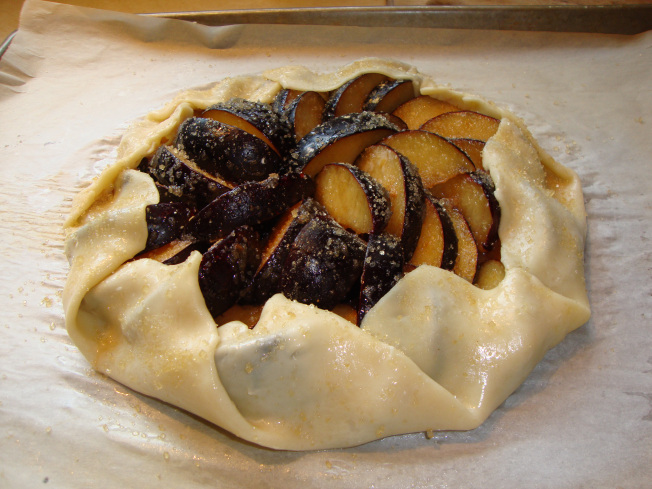
  • Fold edges of pastry over plums. Beat egg white with 1 T water and brush over pastry.  Sprinkle edges with 1 t. coarse sugar.

DSC03665

DSC03664

  • Bake at 400 ° for 20-25 minutes or until crust is a light golden color.

DSC03668

  • Enjoy!


This is so incredibly easy I don’t know why I didn’t try to make one before.  Now that plums are in season, I’ll have to make another one!  The one pictured above didn’t last but a day!

I hope you’ll try to make one of these soon. They look so elegant; your guests will think you fussed for hours !  However, this is so much easier than making a regular pie, I might never go back and make another!  (NOT!)


Until next week, wishing you and yours all of God’s blessings, Good Health and Happy Eating!


Smiles, Maria


Refreshing Cucumber Soup

Standard

This quick and easy, chilled soup is wonderful to serve on those hot, sultry summer days.  And you don’t have to heat up your kitchen when you make this; is that not cool?  Plus, it’s a wonderful way to use up the bounty from your summer garden.  I love the crispness, crunch and coolness of cucumber, which is one of my favorite vegetables!  This can serve as either a cool appetizer or a side to a spicy meal. Low Fat and Tasty, this has become a summer staple on my lunch or dinner table!  Recipe can be easily doubled.


Diff: Easy  Prep: 45 min Serves: 7


IngredientsDSC03674


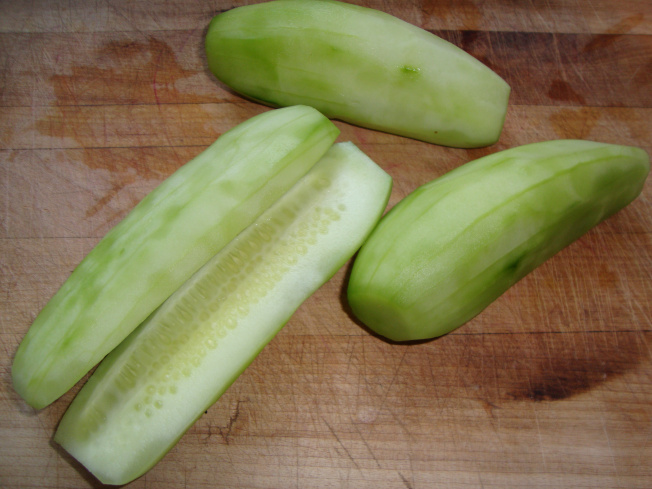
1 # cucumbers, peeled, seeded and sliced

¼ t. kosher salt

1 ½ c.  fat free Greek yogurt

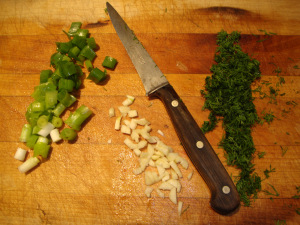
1 green onion, chopped

1 garlic clove, minced

4 ½ t. fresh dill, snipped

Extra chopped green onion & dill for garnishing


Directions


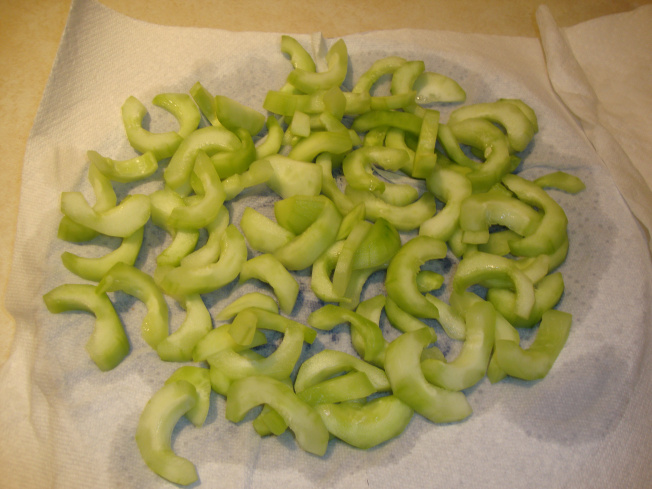
  • Wash, peel cucumbers.


DSC03671

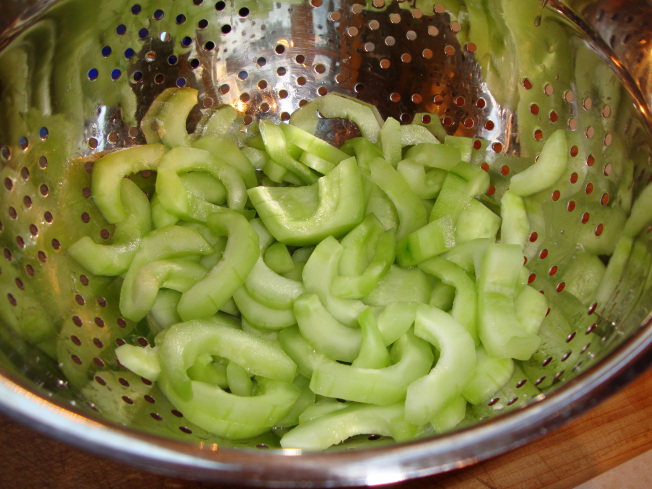
  • Slice, sprinkle with salt and place in a colander over a plate to stand for 30 minutes.

DSC03672

  • Discard any liquid.

  • Rinse and pat dry.

DSC03676

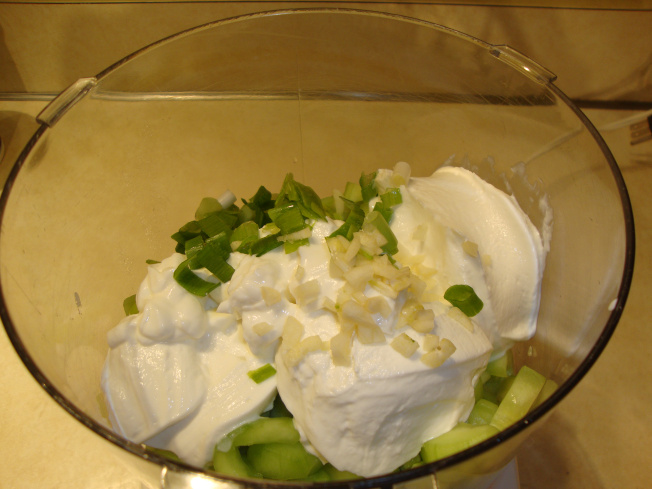
  • Place yogurt, cucumber, onion and garlic in a food processor. 

DSC03677

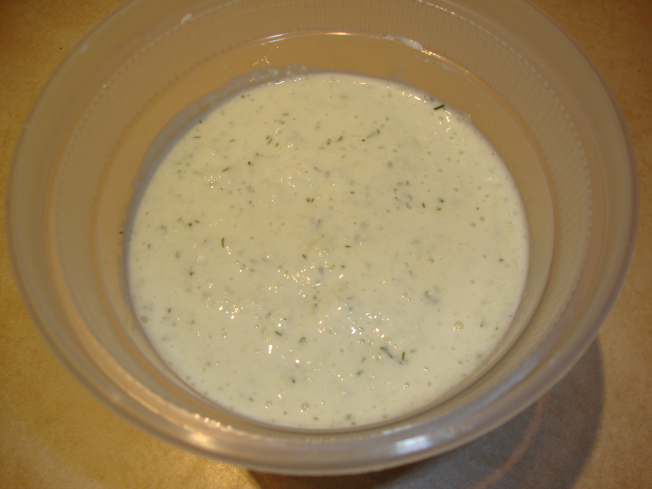
  • Stir in dill and process until smooth.

DSC03681

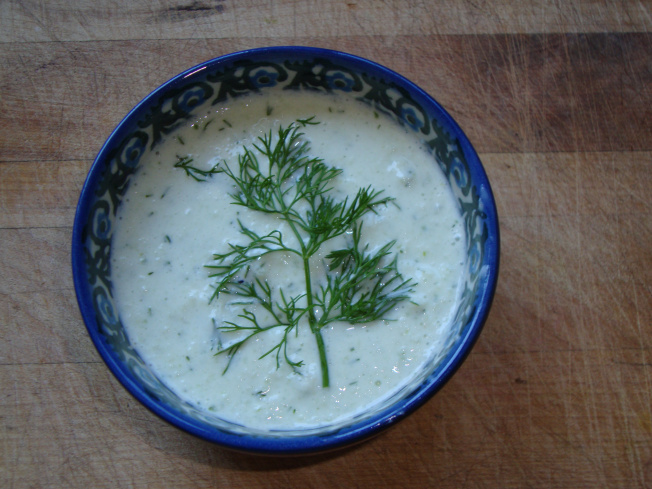
  • Serve in small chilled bowls.  Garnish with additional onion or dill if desired.

DSC03683

  • Enjoy!


Now, isn’t this the most refreshing soup?  Full of veggies and yogurt, it’s heart healthy, delicious and good for you!  What a win win!


Until next week, wishing you all of God’s blessings, Good Health and Happy Eating!


Smiles, Maria

Fast & Easy Savory Wraps

Standard

     We all live in a hurry-up world, where we often have to eat on the run.  How many times have you found yourself standing at your kitchen counter eating rather than sitting at your table?  I know this is what I usually do, especially when I’m late for work or pressed for time; like standing is going to make me eat faster or something!  (Go figure. ) Something that can help with quicker food prep are wraps, those flat breads that have become so popular.

           One of the reasons could be is because wrapped sandwiches are so portable; and I like the fact that the ingredients don’t fall out like they do in tacos.  (Hmmm, maybe I’m just a messy taco eater…) As you know, I love bread in all it’s forms, but in the summer I like flatbreads.  They have fewer calories, can be cut or torn into pieces for dipping,  toasted for chips and are just handy.  What fun it would be to make up a batch and serve these with hummus or a spicy dip at an impromptu deck party with friends!

           So this week I played with a recipe from one of my baking books, adding garlic and fresh basil to brighten the taste.  These are, of course, delicious just plain as well.  You can make up a batch or two and freeze them; that is, if you can keep yourself from eating them all up! 

           You can fill these with a myriad of things, from sweetened ricotta cheese and blueberries to lettuces, tomatoes and kalamata olives or any of your favorite sandwich fillings!

 Diff:  Easy        Prep:  5 min + 30 min rest time      Cook:  12-15 min      

Fast & Easy Savory Wraps

(Makes ~ 8 wraps)

 Ingredients

 2 cups unbleached bread flour

3 T vegetable oil

½ to ¾ c. water (I needed more)

½ salt

¼ c. chopped fresh basil

2 cloves minced fresh garlic

Directions

  • Chop herbs and garlic, set aside.

20130708_0001

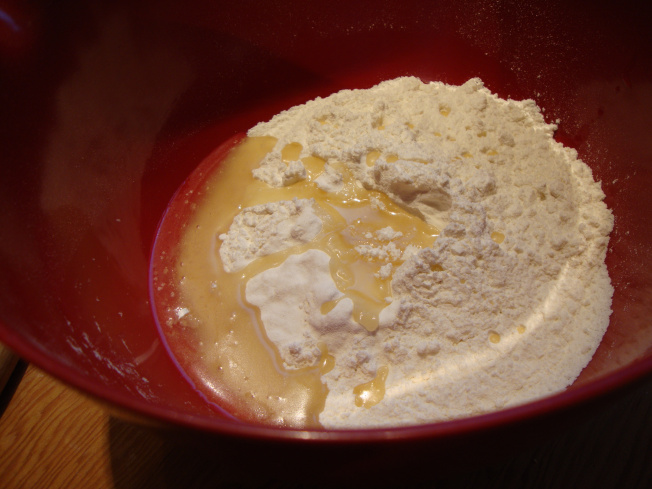
  • In medium bowl, mix together flour and oil. 

20130708_0003

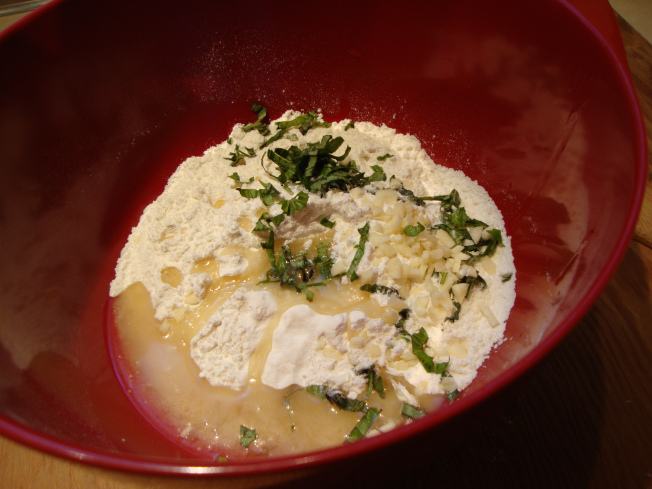
  • Gradually mix in the water, herbs and salt until a soft dough forms.

20130708_0004

20130708_0005

  • Knead briefly on a well floured dough board until dough is smooth.  Divide dough into eight equal pieces.  Roll pieces into balls.  Flatten slightly, and let them rest, covered, for at least 30 minutes.

20130709_0008

  • Preheat an ungreased heavy frying pan over medium heat. 

  • Working with one piece of dough at a time, roll out until about 8 inches in diameter, (dough will be very thin).  *If you want your wraps to be thicker,  just roll them smaller and cook longer.

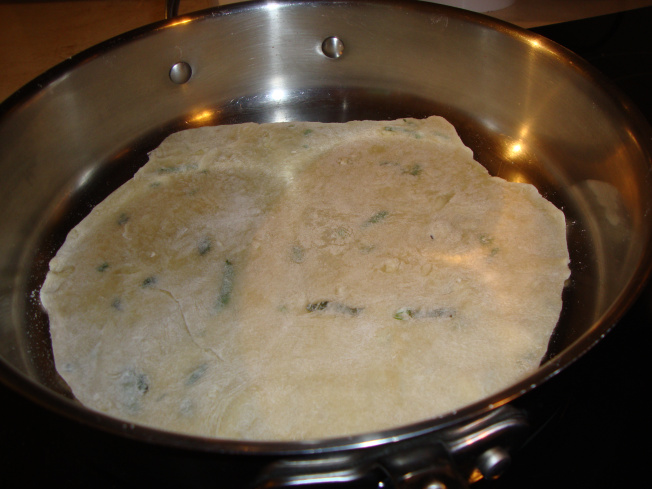
  • Lay wrap carefully in hot pan.  Fry wrap for about 45 seconds on each side until it’s a mottled brown.  20130708_0006

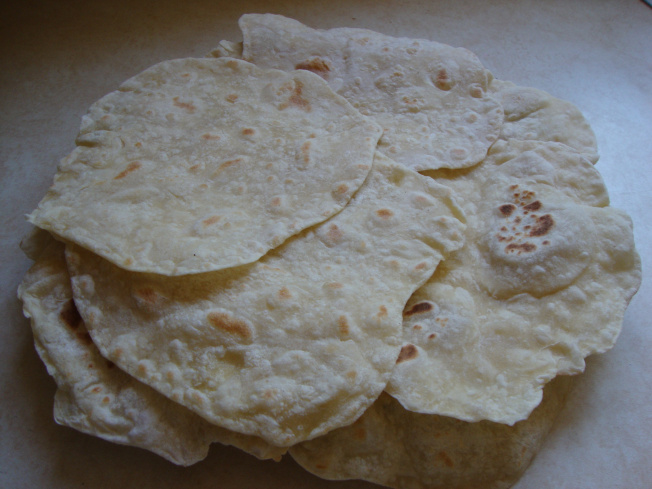
  • Cool and store in an airtight container. 

 20130709_0009

          How easy is that?

           I hope you will make and enjoy these for one of your summer backyard get togethers, parties or events!

 Wishing you all of God’s blessings, days of sunshine, good health and happy eating!

 Smiles, Maria

Father’s Day Spinach Salad with Warm Bacon Vinagrette

Standard

Often, the men in our families or lives don’t eat enough vegetables, and that it’s sometimes a struggle to get them to do so. My husband is a meat and potatoes guy through and through, and I’m always delighted when I can entice him to eat a little of “that green stuff”. But one thing I have noticed about guys, is that, if you put bacon on it, they’ll eat it. So, what easier way to get a guy to eat his veggies?

This American classic is a lovely dish to take to a Father’s Day cookout. Fresh young spinach is dressed up with eggs, mushrooms, red onions, sprinkled with delicious bacon bits, and mixed with a tasty vinaigrette. This colorful dish will stand out on the picnic table beside the burgers, pasta salads and grilled corn. Be sure to put the dressing on just before serving, and be sure to keep all the ingredients cold.

Diff: Easy Prep Time: 20 min. Cook Time: 10 min. Serves: 4

Ingredients

8 ounces young spinach

2 large eggs

8 oz. thick sliced bacon

3 T. red wine vinegar

1 t. sugar

½ t. Dijon mustard

4 large white mushrooms

Kosher salt and coarsely ground black pepper

1 small red onion, thinly sliced

Directions

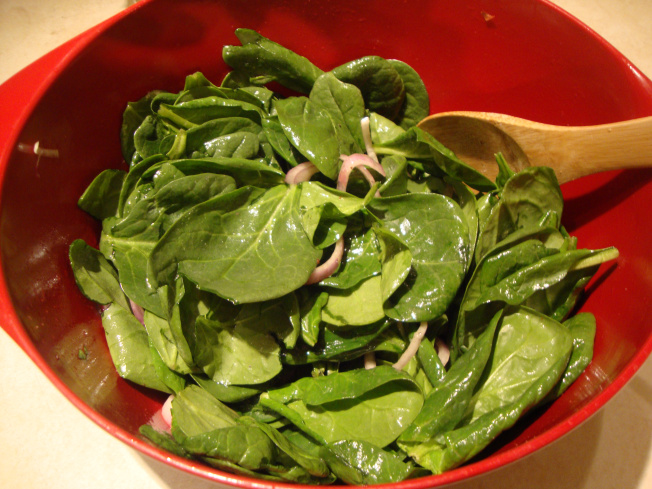
  • Remove the stems from the spinach and wash, drain and pat dry thoroughly. Place into a large mixing bowl and set aside.  (I used bagged spinach, so no pix of this).

  • Heat water in two quart pot until boiling. Lower eggs gently into boiling water, reduce heat until water is just at a simmer. Cook eggs for 14 minutes. Remove eggs from pot and plunge into cold water to prevent further cooking. When cool, remove and peel off the shell. Slice each egg into 8 pieces and set aside.

boilingeggs

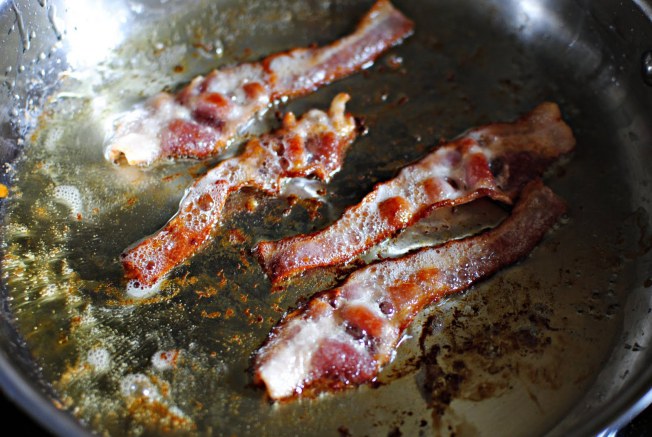
  • While the eggs are cooking, fry the bacon and remove to a paper towel to drain, reserving 3 tablespoons of the rendered fat. Crumble the bacon and set aside.

Frying bacon

  • Transfer the fat to a small saucepan set over low heat and whisk in the red wine vinegar, sugar and Dijon mustard. Season with a small pinch each of kosher salt and black pepper.  (Sorry, no picture of pot on the stove!)
  • Add  the sliced onion to the spinach and combine, then add the dressing and bacon and toss gently until mixed.

DSC02422

DSC02419

  • Divide the spinach between 4 plates or bowls and evenly divide the egg among them. Season with coarse black pepper. Serve immediately.

DSC02427

This nutritious dish is both attractive and simple to prepare and is a great way to get your veggie shy friends to eat more of the good stuff.

Wishing all the Father’s of the World a Happy Father’s Day! Until next week, wishing everyone all of God’s blessings, good health and happy eating!

Smiles, Maria

Garlic Enhanced Sauteed Kale

Standard

DSC02614Garlic Enhanced Sautéed Kale

I love Farmer’s Markets; and a few weeks ago was the opening of the Rochester Market. I love the fresh produce, the quality products, the organic food, the small batch, hand made specialty chocolates; the gorgeous flowers; I could go on and on. In order to celebrate the “Buy Local” theme,  I’m going to highlight some of the exceptional products I’ve found at the Rochester Farmer’s Market throughout my posts this summer.

One of the new products that absolutely blew me away was the Extra Virgin Garlic OilDSC02638 by Olive This World, an online company based in Shelby Township that was founded in 2011.  They provide high quality natural and naturally flavored Extra Virgin Olive oils and aged balsamic vinegars from small batch producers throughout the world. I had not known of them until I saw them at the Rochester Farmer’s Market. 

Intrigued,  I purchased a small bottle of their garlic oil, and found that it was the best I’d ever tasted.  Being of Romanian descent, I naturally love garlic, (no vampire jokes, please…), and have enjoyed cooking with it ever since I went to the Gilroy Garlic Festival in Gilroy, California years ago; where I purchased several garlic cookbooks. I also fondly remember the garlic pizzas my friends and I would eat on Friday nights at the North Beach Restaurant in North Beach, San Francisco. The pizza would arrive hot and steamy, with a cruet of garlic oil so you could flavor your pizza to taste.  You can use Olive my World’s garlic oil to replace the garlic in recipes, making cooking so much easier!  I’ve used it to saute mushrooms and onions, marinate steaks, drizzled it on roasted chicken, and to dress salad. 

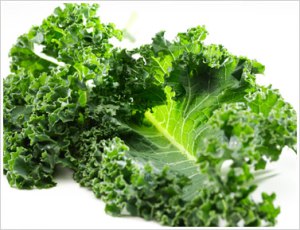
inside_products_kaleRelated to the cabbage family, kale has a strong taste, and therefore, it is not to everyone’s liking. However, kale is the powerhouse vegetable this year, pushing aside the perennial favorite, spinach. (Sorry, Popeye!) Just one serving of kale provides 5 grams of fiber, and 15% of the daily requirement for calcium and vitamin B6. In addition it is rich in the anti-oxidant Vitamin A (180% MDR*), Vitamin C (200%), and Vitamin K (1020%). It also a good source of the minerals copper, potassium, iron, manganese, and phosphorus. And you get all this nutrition for only 36 calories! What a win win!

(*minimum daily requirement)

And if this wasn’t enough, studies have found that kale has anti-cancer fighting properties, promotes eye health, helps lower blood cholesterol and reduces the risk of heart disease. What’s not to love?

Then, in an effort to entice my husband to eat kale, I came up with this simple sautéed dish.  This is a great vegetarian side that pairs wonderfully with a grilled steak and baked sweet potato. The beauty of this recipe is that you don’t have to peel and chop garlic because the garlic oil takes care of that step. So with that, and just 4 (or 5) ingredients, this recipe is a snap to make!

Diff. Very Easy Prep Time: 5 min. Cook Time: 5 min. Serves: 4

Directions:

2 T. Olive This World Extra Virgin Garlic Oil

1/2-3/4 c. chopped onion

1 bunch kale, washed, chopped, stems removed

¼ c. chopped walnuts or pecans  (toast if desired)

Garnish with shredded lemon peel 

Instructions:

  1. Toast walnuts in frying pan for a few minutes, stirring to prevent burning. Remove and place in a bowl, set aside. (No photo as I did not do this step).

  2. Heat garlic oil on medium heat until hot.  Add onion and cook 2 minutes, stirring frequently.DSC02606

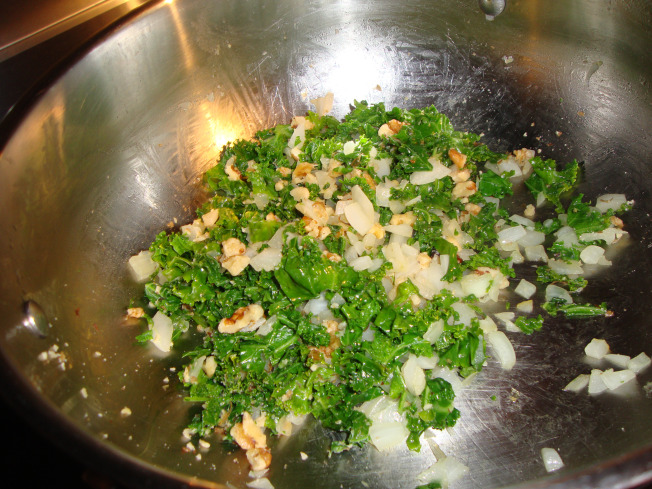
  3. Add chopped kale and stir until slightly wilted, about 1 to 1.5 minutes.DSC02607

  4. Add walnuts, stir to mix.DSC02609

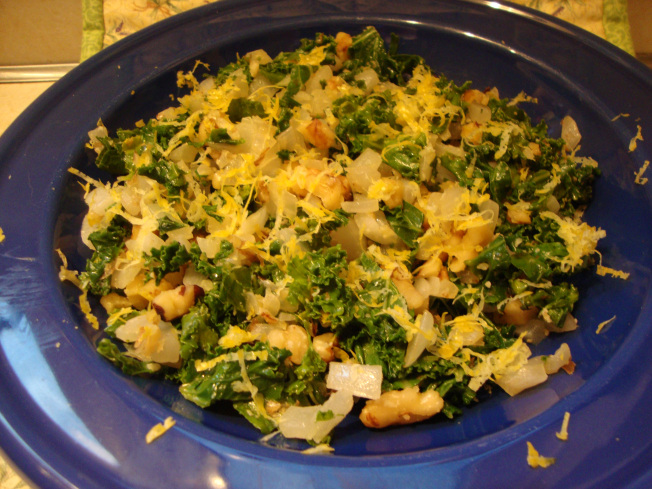
  5. Serve hot with either more garlic oil or butter, salt, coarsely ground pepper and sprinkled with optional lemon zest.  Yum!DSC02610

Can you believe it’s that easy to prepare an extremely nutritious and delicious side dish?  Enjoy!

If you’d like more information about Olive this World, you can find them online at www.olivethisworld.com or on Facebook.

Hmmm, maybe I’ll try to make my own garlic pizza next.  Until next week, wishing you all of God’s blessings, good health and good eating!

Smiles, Maria

Zesty Tomato Veggie Pasta Salad

Standard

Memorial Day is coming up, and that means family barbecues and gatherings. So what do you take or prepare this year? This is usually a quandary for me so I spend hours looking through cooking magazines and recipes, hoping to find just the right dish. I’ve always been a big fan of pasta salad, but don’t like rich, creamy dressings, and haven’t found a vinaigrette based pasta salad dressing that I like. So I was delighted when I came across this recipe.

The combination of tomato sauce and salsa is unusual and really makes the dish. Full of wonderful, fresh veggies and herbs; this colorful salad can easily become a full meal salad with the addition of chicken, meat or cheese. It’s healthy, quick and easy to prepare, and absolutely delicious. What else could you ask for? So, take this salad to your next outdoor gathering, graduation or party, and be prepared for compliments and recipe requests!

Diff: Easy     Prep:  20 min + Chilling     Cook: 11 min     Serves: 12


Ingredients:

4 cups. uncooked spiral pasta (tricolor or reg)

1 jar (16 oz.) salsa (mild or medium)

1 can (15.5 oz) corn, drained or

2 cups frozen corn, thawed

1 ½ cups halved cherry tomatoes

1 medium red onion, chopped

1 can (8 oz.) no-salt-added tomato sauce

4 T. minced fresh parsley

1 T. red wine vinegar

Directions:

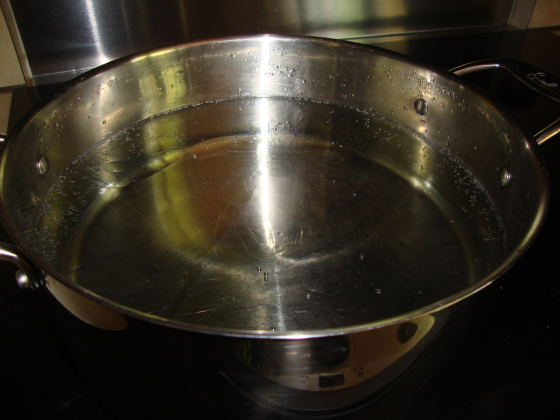
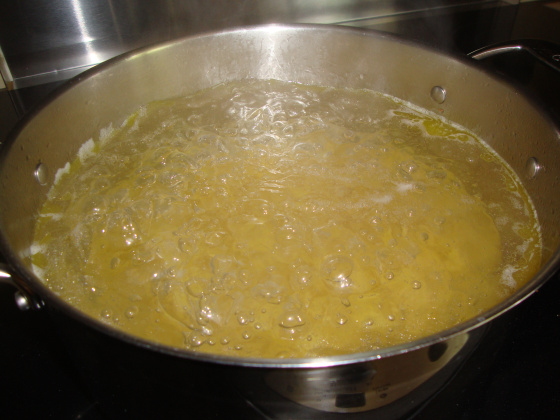
  1. Fill large pot with water, add salt and oil. Bring to boil.DSC02639

  2. Cook pasta according to directions. Rinse in cold water and drain.DSC02647

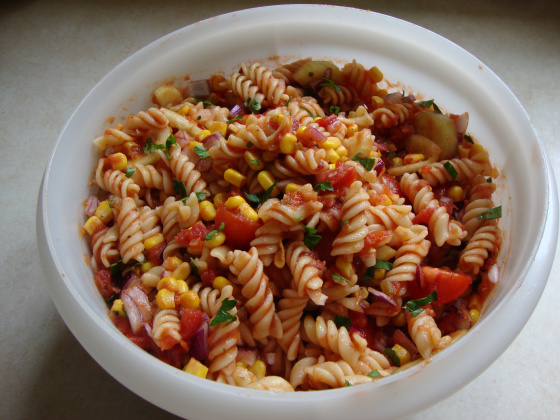
  3. In large serving bowl, combine pasta and veggies. Stir to combine.DSC02654

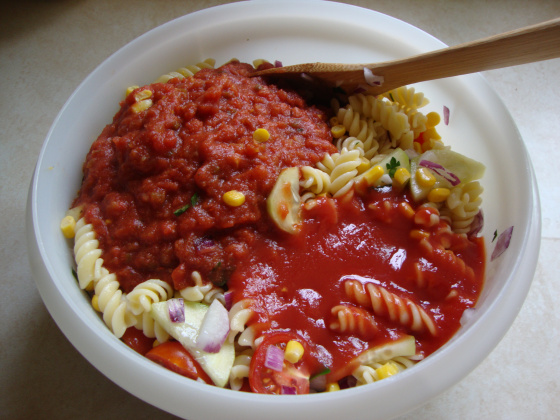
  4. Add liquid ingredients, combine well to blend with pasta mixture.DSC02657

  5. Refrigerate at least 30 minutes before serving as this will allow the flavors to meld.  You can sprinkle additional parsley on top just before serving.DSC02658

  6. Enjoy! Happy Memorial Day!

I hope everyone has a safe and wonderful Memorial Day. Until next week, wishing you all of God’s blessings, good health and good eating!

Smiles, Maria

Healthy Hiker’s Energy Bars

Standard

Now that the weather is getting warmer and we’re looking forward to summer and spending more time outside, here’s a easy and healthy snack you can take with you on your next hike. The beauty of this recipe is that you can substitute any dried fruit you like, and can also add various ingredients such as flax seed or additional nuts or seeds if desired. If you’re allergic to peanut butter, you can substitute almond or sunflower seed butter instead. The protein hit from the peanut butter, oats and eggs should help keep you going for hours! Not only are these good while you’re on the trail, but they’re also a nice reward after a good hike!

Diff: Easy Prep: 15 min. Cook: 20-23 min.

Ingredients:

½ c. whole wheat flour

1-2 T. flax seed if desired (can be ground)

1 t. ground cinnamon

½ t. baking soda

1/8 t. kosher or sea salt

2 t. pure vanilla extract

½ c. packed brown sugar

1 large egg

2 large egg whites or equivalent

1 c. dried cranberries or sweet dried cherries

½ c. coarsely chopped nuts (walnuts, pecans, almonds, etc.)

1/4 c. sunflower seeds

½ – ¾ c. chocolate chips

½ c. smooth or chuncky peanut butter

2 T. extra virgin olive oil

½ c. organic honey

2 c. old fashioned rolled oats

Directions:

  1. Preheat oven to 350 F. Coat a 9 X 13 pan with olive oil.

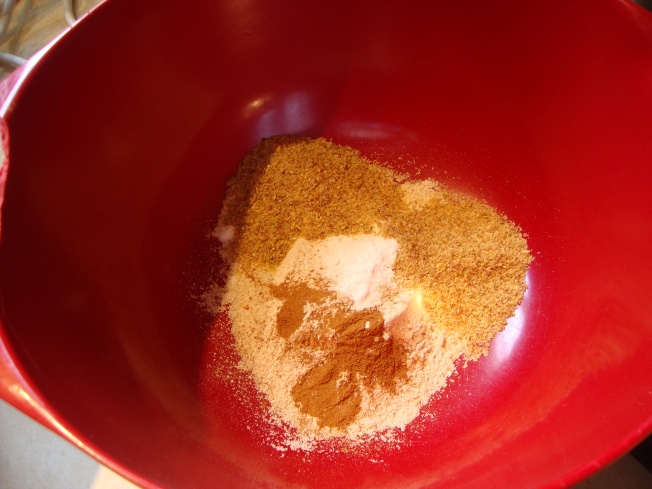
  1. Whisk flour, cinnamon, baking soda and salt in a medium bowl.
DSC02581

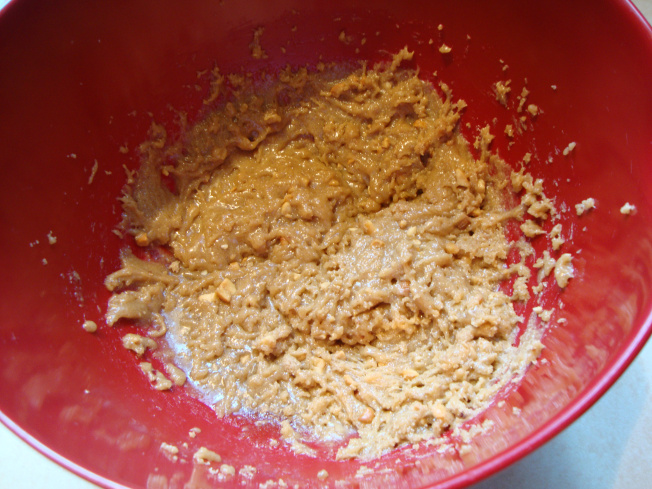
  1. Beat peanut butter, brown sugar, and honey in a large bowl until blended.
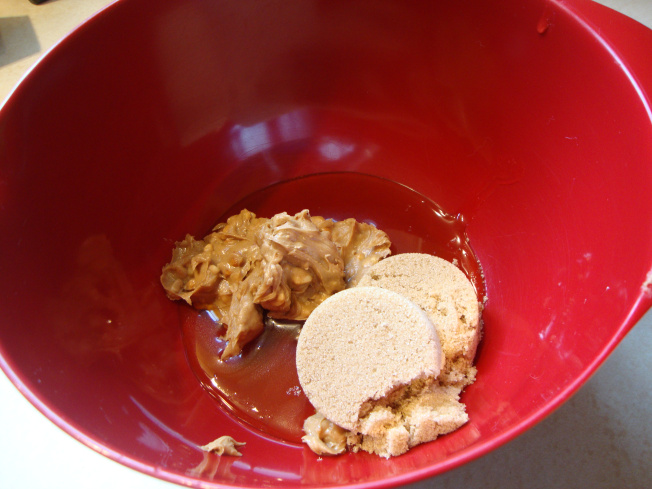
DSC02580

DSC02583

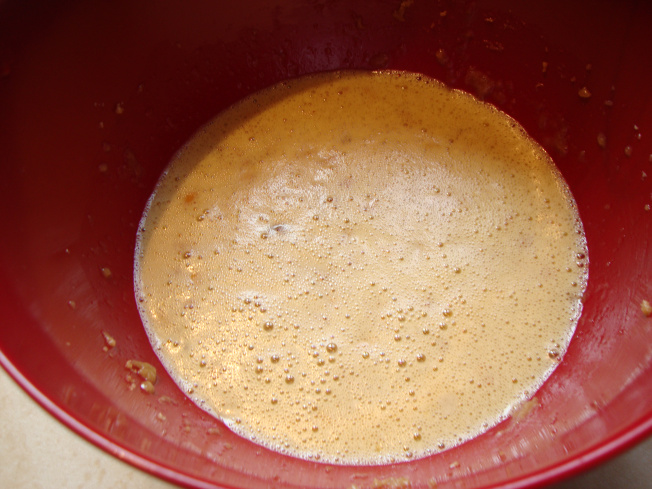
  1. Blend egg and egg whites with fork in a small bowl, then add to peanut butter mixture along with oil and vanilla. Beat until smooth.
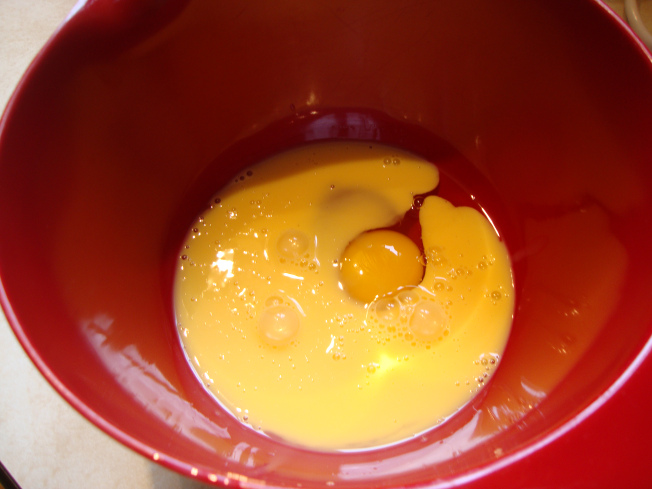
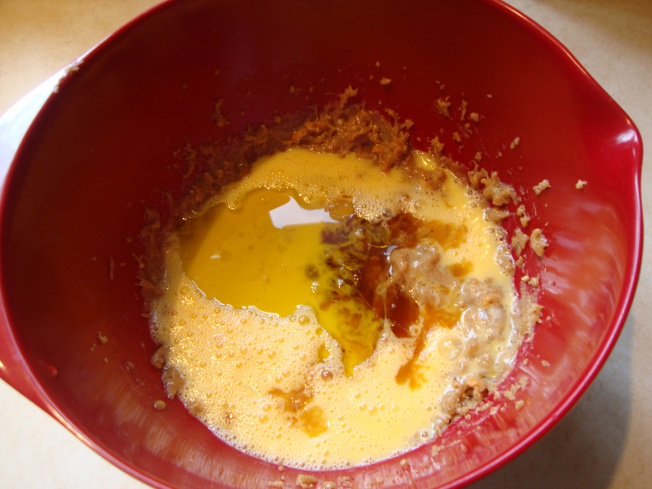
DSC02582
DSC02584

DSC02585

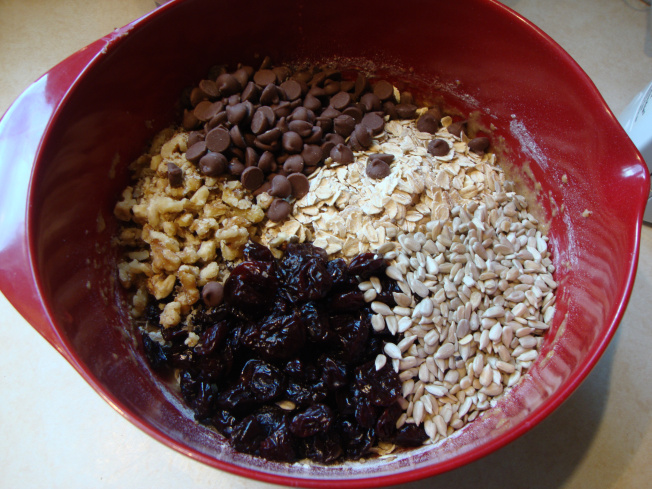
  1. Add flour mixture and mix with spatula. Mix in oats, cranberries/cherries, choice of nuts and chocolate chips.
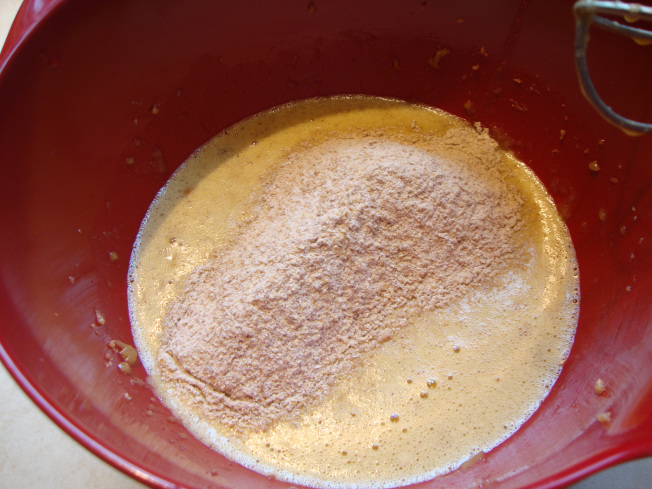
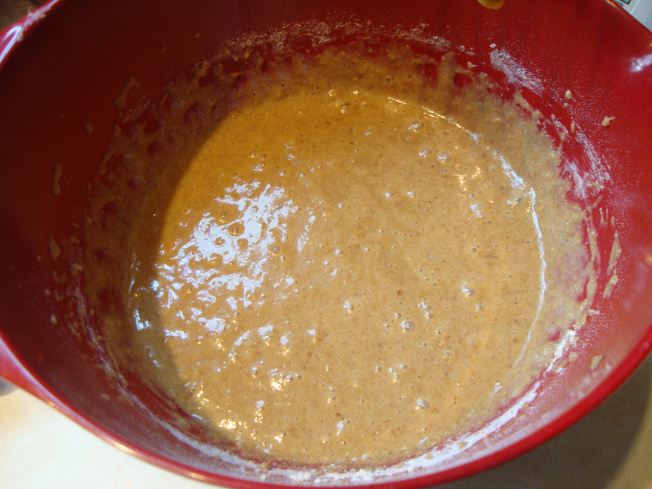
DSC02587

DSC02589

DSC02591

  1. Scrape batter into prepared baking dish. Use spatula to even out.
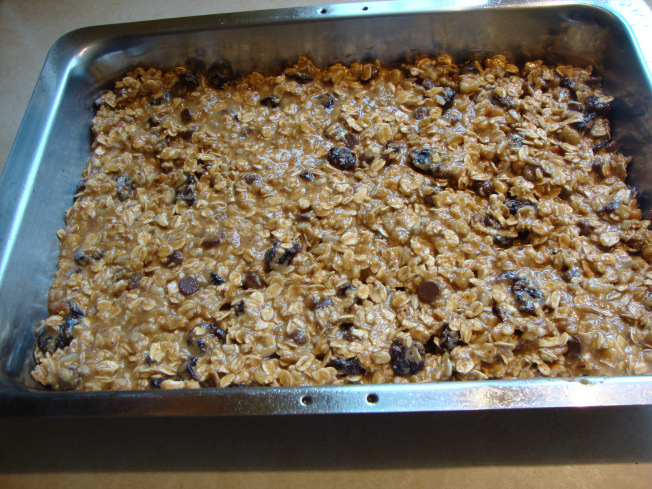
DSC02597

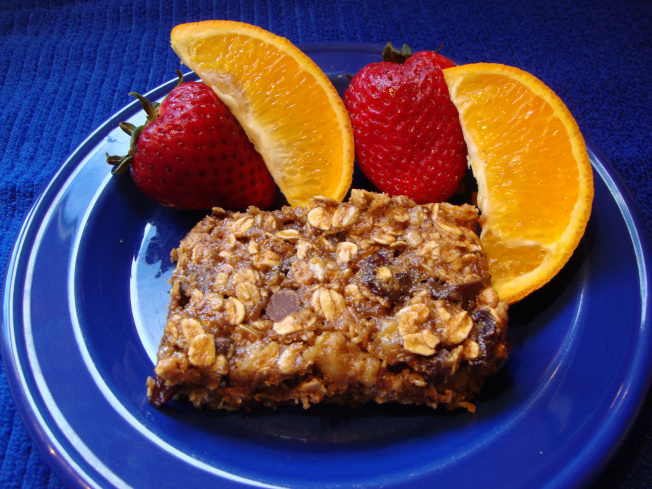
  1. Bake until lightly brown and firm to touch, 2-23 minutes. Let cool completely before cutting.
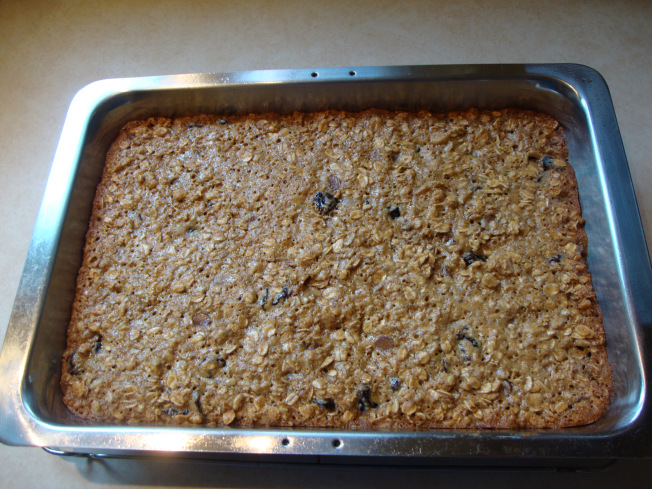
DSC02598
DSC02603

Enjoy! This is wonderful served with fruit and a glass of cold milk. 
Hope all of you will be able to enjoy some time in the great outdoors this week. Wishing all of you God’s blessings, happy hiking, good health and good eating!

Smiles, Maria


Healthy Hippie Granola Quick Bread

Standard

Healthy Hippie Granola Quick Bread

I love quick breads because they’re so simple to put together. The inspiration for this bread was an overabundance of granola after I had made a large batch. Did you know that granola (called granula) was invented in 1893 by a Dr. Caleb Jackson? In his quest for a healthier food, he created granula. His granula was very healthy, (if not tasty) as it consisted of Graham flour that was baked, crushed and rebaked. Doesn’t sound very appetizing, does it? It wasn’t until the 1960’s and the advent of both the health food and hippie movements that modern granola was created; a portable snack full of energy filled grains, dried fruits and nuts great for hikers, bikers and lovers of the outdoors. Whether you’re an outdoor adventurer or not, this is a terrific bread to have on busy mornings when you’re trying to get the kids off to school and yourself off to work. Easy to make and chock full of all things that make granola so wonderful; it’s hearty, lightly sweet taste is irresistible. Recipes makes 1 loaf, and is easily doubled.

Diff: Easy Prep Time: 5 min Cook Time: 50-55 min.

Ingredients:

3/4 c. all purpose flour

3/4 c. white whole wheat flour

1/2 t. cinnamon

1/2 t. allspice

1 1/2 t. baking powder

1/2 t. kosher salt

1 c. brown sugar (packed)

1/4 c. canola oil

2 large eggs

1 t. vanilla extract

1/2 c. buttermilk

(can sub 1/4 c. plain yogurt & 1/4 c. sr. cream)

1/2 c. raisins

1/2 c. shredded coconut

Directions:

  1. Preheat oven to 350 F. Lightly grease a 9 X 5 inch loaf pan.

  2. In large bowl, whisk together flour, granola, spices, baking powder, and salt.

  3. In a medium bowl, mix together brown sugar, eggs and canola oil until smooth.

  4. Mix in vanilla and buttermilk.

  5. Pour into flour mixture and stir until thoroughly mixed. Stir in raisins and shredded coconut.

  6. Pour into prepared pan.

  7. Bake for 50-55 minutes, or until a toothpick inserted into the center comes out clean.

  8. Turn loaf out of pan after 5 minutes. Thoroughly cool on a wire rack before slicing.

This bread really is addictive. We gobbled up the first two loaves I made in just a day! I initially thought it wasn’t sweet enough, but the subtle sweetness of the brown sugar lingers after you’ve eaten a slice. I hope you, your family and friends will enjoy this and that it will become  one of your favorite quick breads!

Until next week, wishing you God’s blessings, good health and happy eating!