This week’s project will be “How to hang Cupboards”!
I may have mentioned that I am President of the “Trustees” at our church. This is my 5th year running our group and by far this year I have the best team. Really enjoying the fellowship, work and accomplishments we have made this year.
We have a couple who have become our Youth Directors and needed some cabinetry hung in their new kitchen so what better than to take a few pictures and teach on the subject.
Does it every amaze you how much your cupboard can hold. Imagine the weight they hold and yet they seem to stay strong and never cave to the demands that we put on them. It is the same way with our “God”. He is even better than a cupboard because of that personal relationship you can have. If you work on hanging in there with him he will never fail you.
Things you will need for this project:
Drill and Impact drill is even better for driving screws
No. 8-3” wood screws or 3” drywall screws will do.
Cupboards of course
Level and stud finder
Some scrap 1” x 6” or 2 x 4’s are otional -They will be used as a jig to make the job easier.
First I want to introduce you to Dave (left) and Jeff (right). Dave actually teaches word working and Jeff is the Father of Erin who is our Youth Director. They really made this job simple.

We were actually using cupboards that were donated to the church so we did a little measuring to see what would fit where and amazingly we didn’t have much trouble deciding where we would hang them. As if they were made for the kitchen. “God is Good Right”!
We are actually working in a corner so we took the time to find some studs to anchor the screws in and marked them on the wall below the cabinet for reference.
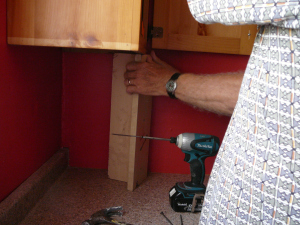
Dave had this neat little jig for setting the cupboards on so you don’t have to hold them up while you are trying to secure the cupboard.
It is basically 2pcs of 1×6 cut to 16” long (or desired height) and “T’d” together. I believe this picture does it justice if not the last picture of the article will help. The 16” height is the space between the bottom counter and the bottom of the upper counters. Obviously you can make this little jig to size but it really did make it easy to adjust the cupboard on.
My father and I use a different method. We first figure out the height we need our cabinet to be and then use a chalk line w/a little bubble level on it and snap the line. Then we hang a 2×4 on that line and screw it into the wall.
We then proceed to put the cabinets up tipping the back of the cupboard on top of the 2/4 we just secured. That works rather well too; especially if you working on an un-level surface. This method is used in older homes or basements.
Once we have the cabinet in place and make sure it is level; we use our Impact drill to put the screws in place.
I never new what an impact drill really did but let me tell you….I have got to get me one of these! Especially if you don’t have a lot of upper body strength or you are trying to drill from an awkward position. This thing needs no muscle. The screws go in smooth as silk.
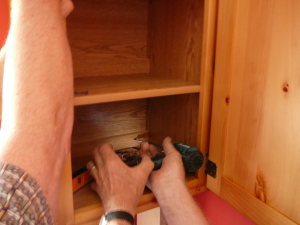
If you do not have an impact drill; use a drill bit smaller than your screws and pre drill holes. Then go ahead and put your screws in. I usually just pre-drill 2 holes. Put the screws in and then I finish the rest of the cabinet. Not there are 3 (?) inside this particular cabinet so I put screws on both sides of each of them according to where my studs lay.
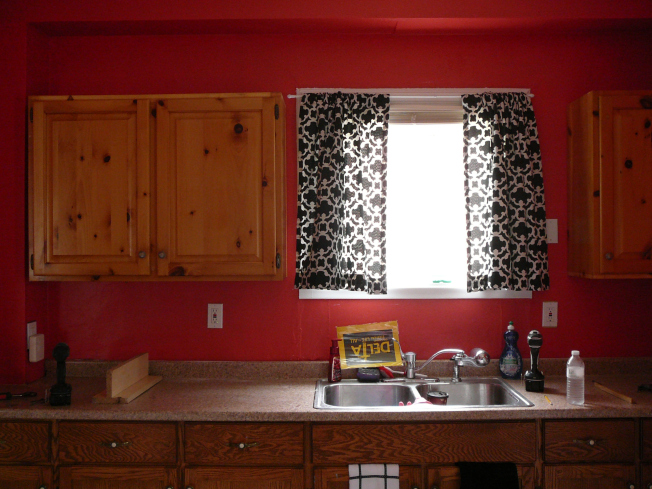
Here is the finished product. We had windows to work around and all kinds of stuff that were already existing on the walls so I think this came out really well considering the cabinets were not specifically made for the kitchen. (Arrow is pointing out the 1 x 6 jig)
Well Bona petite my friends.
Have a wonderful weekend!
Mischele Makhlouf
